Install Laravel and Basic Configurations
In this tutorial, we are going to install Laravel and do the basic configuration which needs in any Laravel project.
Last tested on Laravel 10.x.
- Install Laravel
- Database Configuration
- Handle specified key was too long error
- Install Laravel UI
- Sample Blade File
- Run the Server
The Laravel framework has a few system requirements. You should ensure that your web server has the following minimum PHP version and extensions:
- PHP >= 8.1
- Ctype PHP Extension
- cURL PHP Extension
- DOM PHP Extension
- Fileinfo PHP Extension
- Filter PHP Extension
- Hash PHP Extension
- Mbstring PHP Extension
- OpenSSL PHP Extension
- PCRE PHP Extension
- PDO PHP Extension
- Session PHP Extension
- Tokenizer PHP Extension
- XML PHP Extension
Method 1: You can install Laravel using Laravel installer:
 # install installer
composer global require laravel/installer

# create project
laravel new my_porject
Method 2: You can also install Laravel using composer:
composer create-project --prefer-dist laravel/laravel my_porjectIn the Laravel project, there is a file called .env. It’s for project configuration. To connect with the database we need to set database credentials.
DB_CONNECTION=mysql
DB_HOST=127.0.0.1
DB_PORT=3306
DB_DATABASE=your_database_name
DB_USERNAME=your_database_username
DB_PASSWORD=your_database_passwordTo handle this error, go to this file app/Providers/AppServiceProvider.php and inside the boot method set a default string length:
use Illuminate\Support\Facades\Schema;

public function boot()
{
    Schema::defaultStringLength(191);
}Laravel UI is an official package that contains the extracted UI parts from a Laravel project. To generate UI scaffolding, we first need to install the laravel/ui.
composer require laravel/uiOnce the laravel/ui package has been installed, you may install the frontend scaffolding using the ui Artisan command:
/**
 * Generate basic scaffolding
 * Run one command only
 */
php artisan ui bootstrap
php artisan ui vue
php artisan ui react

/**
 * Generate login / registration scaffolding
 * Run one command if needed auth or skip this
 */
php artisan ui bootstrap --auth
php artisan ui vue --auth
php artisan ui react --auth
Then run this command:
npm install && npm run dev

# migrate database
php artisan migrateAfter generating UI, we need to include CSS & JS in layouts/app.blade.php file. Here’s an example:
<!DOCTYPE html>
<html lang="en">
<head>
    <meta charset="utf-8">
    <meta name="viewport" content="width=device-width, initial-scale=1">
    <title>Hello from Shouts.dev!</title>

    {{-- vite --}}
    @vite(['resources/sass/app.scss', 'resources/js/app.js'])
</head>
<body>
<div class="container">
    <div class="text-center" style="margin: 50px 0 10px 0;">
        Hello from Shouts.dev!
    </div>
</div>
</body>
</html>You can launch the local web server using this command:
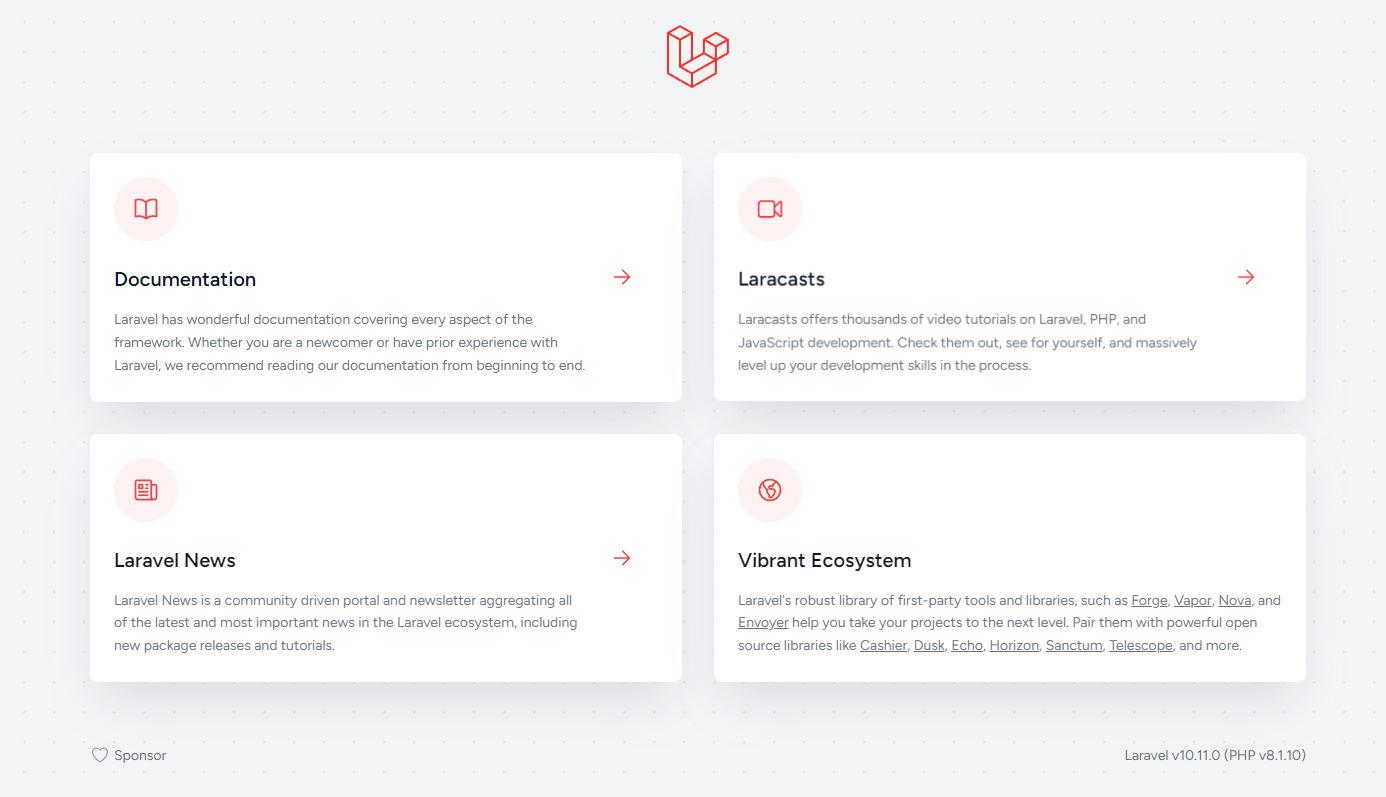
php artisan serveNow, if you visit http://localhost:8000, you'll see the output like:

Now you can start building something cool stuff!
Md Obydullah
Software Engineer | Ethical Hacker & Cybersecurity...
Md Obydullah is a software engineer and full stack developer specialist at Laravel, Django, Vue.js, Node.js, Android, Linux Server, and Ethichal Hacking.