Chapter 17 - Authentication with JWT
Hello Artisan's, welcome to the 11th chapter of being an Artisanary. In this chapter we'll see authentication with JWT(Json-Web-Token). In this chapter we'll protect the previous chapters CRUD for AUTH user only. So if you already complete the previous chapters/sections, then you're good to go, if not my recommendation would be please complete the previous chapters. Because we'll use the same old repository that we use in chapter 4.
Note: Tested on Laravel 10.0
- install and setup tymon/jwt-auth
- Create and Setup Middleware
- Create and Setup Controller
- Create Route
- Output
tymon/jwt-auth is quite popular package for handling jwt. It's also easy to use and provide lots of handful methods which is reduce our time conveniently. So, fire the below commands in the terminal.
composer require tymon/jwt-auth
//after successfully install
php artisan vendor:publish --provider="Tymon\JWTAuth\Providers\LaravelServiceProvider"
php artisan jwt:secret
After running the above commands replace your User.php code with the below one.
<?php

namespace App\Models;

// use Illuminate\Contracts\Auth\MustVerifyEmail;
use Illuminate\Database\Eloquent\Factories\HasFactory;
use Illuminate\Foundation\Auth\User as Authenticatable;
use Illuminate\Notifications\Notifiable;
use Laravel\Sanctum\HasApiTokens;
use Tymon\JWTAuth\Contracts\JWTSubject;

class User extends Authenticatable implements JWTSubject
{
    use HasApiTokens, HasFactory, Notifiable;

    protected $fillable = [
        'name',
        'email',
        'password',
        'role_id',
        'role_id',
        'firebase_auth_id'
    ];

    protected $hidden = [
        'password',
        'remember_token',
    ];

    protected $casts = [
        'email_verified_at' => 'datetime',
    ];

    public function role(): \Illuminate\Database\Eloquent\Relations\BelongsTo
    {
        return $this->belongsTo(Role::class);
    }

    public function getJWTIdentifier()
    {
        return $this->getKey();
    }

    public function getJWTCustomClaims(): array
    {
        return [];
    }
}
And then we need to update guard array in config/auth.php as below
 'guards' => [
        'web' => [
            'driver' => 'session',
            'provider' => 'users',
        ],
        'api' => [
            'driver' => 'jwt',
            'provider' => 'users',
        ],
    ],
And it'll configure our jwt successfully.
First of all, we'll create a middleware for checking if a request comes with token or not. So, fire the below commands to create middleware.
php artisan make:middleware JWTMiddlewareIt'll create a file called app/Http/Middleware/JWTMiddleware.php, open the file and replace it with the below codes
<?php

namespace App\Http\Middleware;

use Closure;
use Illuminate\Http\Request;
use Symfony\Component\HttpFoundation\Response;
use Tymon\JWTAuth\Exceptions\TokenExpiredException;
use Tymon\JWTAuth\Exceptions\TokenInvalidException;
use Tymon\JWTAuth\Facades\JWTAuth;

class JWTMiddleware
{
    public function handle(Request $request, Closure $next): Response
    {
        try {
            $user = JWTAuth::parseToken()->authenticate();
        } catch (\Exception $e) {
            if ($e instanceof TokenInvalidException)
                return response()->json([
                    'error' => __('Token is invalid')
                ]);
            elseif ($e instanceof TokenExpiredException)
                return response()->json([
                    'error' => __('Token is Expired')
                ]);
            else
                return response()->json([
                    'error' => __('Authorization Token Not Found')
                ]);
        }
        if ($user):
            return $next($request);
        else:
            return response()->json([
                'error' => __('Invalid Token')
            ]);
        endif;
    }
}
After working middleware we need to register in $middlewareAliases in app/Http/Kernel.php as below
protected $middlewareAliases = [
			.......
			'jwt_auth' => JWTMiddleware::class,
];At first we need to create a middleware where we'll write our logic to get the token. So, that user can use the token and can authenticated in the system. So, fire the below command in your terminal
php artisan make:controller Api/LoginControllerWhich'll create a controller called LoginController.php under app/Http/Controllers/Api. Open the file and replace it with below codes
<?php

namespace App\Http\Controllers\Api;

use App\Http\Controllers\Controller;
use App\Models\User;
use Illuminate\Http\Request;
use Illuminate\Support\Facades\Auth;
use Illuminate\Support\Facades\Validator;
use Tymon\JWTAuth\Exceptions\JWTException;
use Tymon\JWTAuth\Facades\JWTAuth;

class LoginController extends Controller
{
    public function login(Request $request): \Illuminate\Http\JsonResponse
    {
        $validator = Validator::make($request->all(), [
            'email' => 'required',
            'password' => 'required',
        ]);

        if ($validator->fails()) {
            return response()->json([
                'errors' => $validator->errors(),
            ], 422);
        }
        try {
            $user = User::where('email', $request->email)->first();

            if (!$user)
            {
                return response()->json([
                    'error' => 'User not found'
                ], 422);
            }

            $credentials = $request->only('email', 'password');

            try {
                if (!$token = JWTAuth::attempt($credentials)) {
                    return response()->json([
                        'error' => 'Invalid Credentials',
                    ], 422);
                }
            } catch (JWTException $e) {
                return response()->json([
                    'error' => 'Could not create token'
                ], 422);

            } catch (\Exception $e) {
                return response()->json([
                    'error' => $e->getMessage()
                ], 422);
            }

            Auth::attempt($credentials);

            return response()->json([
                'token' => $token,
                'user' => $user
            ], 200);
        } catch (\Exception $e) {
            return response()->json([
                'error' => $e->getMessage()
            ], 422);
        }
    }
}
Now put the below route to routes/api.php
<?php

use App\Http\Controllers\Api\BlogController;
use Illuminate\Support\Facades\Route;

Route::post('login', [\App\Http\Controllers\Api\LoginController::class, 'login'])->name('login');

Route::resource('blogs', BlogController::class)->except(['edit','create','update'])->middleware('jwt_auth');
Route::post('blogs/{id}', [BlogController::class, 'update'])->name('blogs.update')->middleware('jwt_auth');
Now we need to create a request(not discussed here, already explained in previous chapter) called login after giving the url hit Send. Then you'll get the below result.
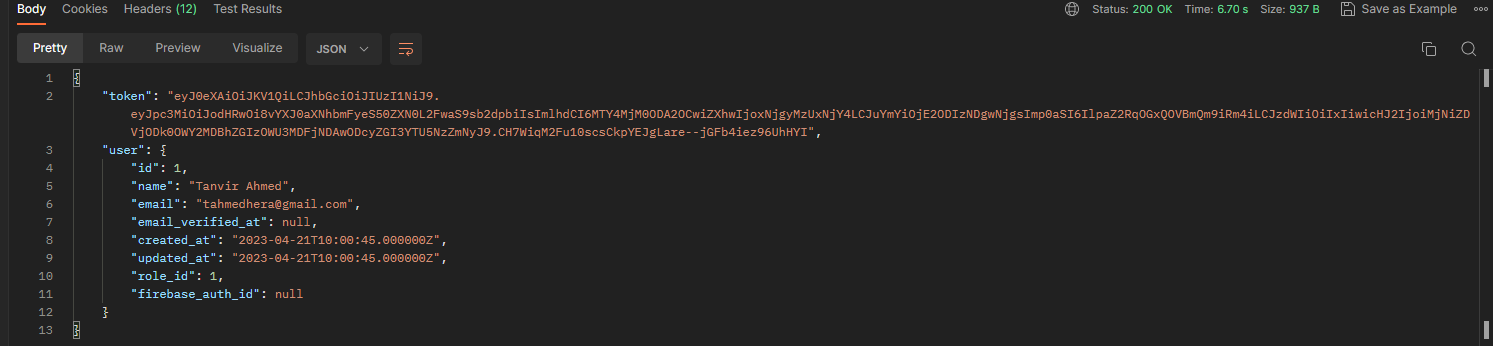
Now we need to copy the token and paste it into Authorization because for checking, if the user is authenticated or not the token must be in header or parameter. So, if we paste it in Authorization part, it'll always appears in headers. See the image below to for more info

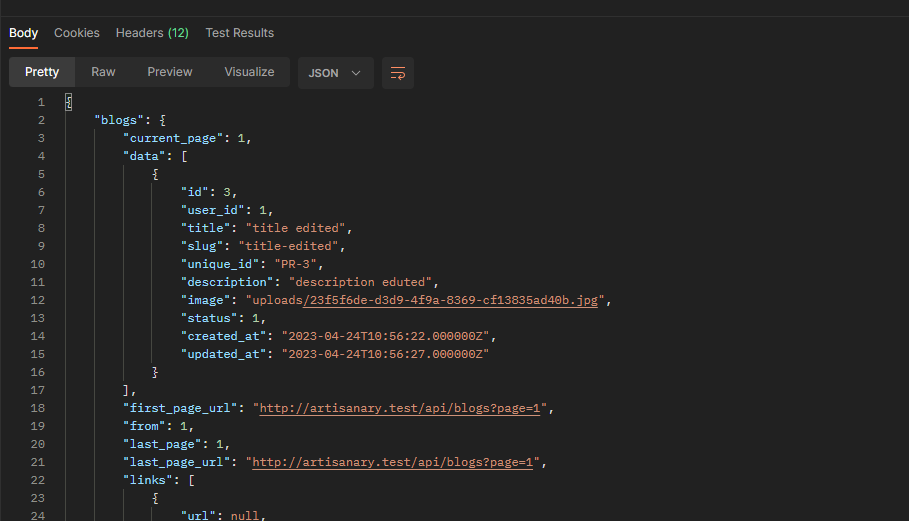
Now after setup if we hit the Send button for index request then we can see the below result.
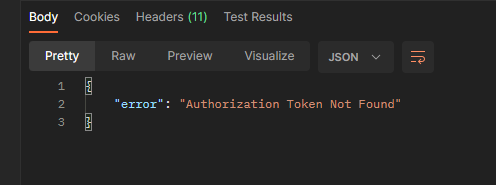
And if we don't provide the token in header then we can have the below error.
So, it's time to say goodbye for today. We saw the authentication with JWT. And yes keep up to date with the Github repository. That's it for today. See you in my next chapter. Happy coding 🙂.