Laravel Authentication with Breeze
Hello artisan, today I will talk about Laravel Breeze for authentication. Laravel Breeze is alternative for laravel/ui which one used for authentication. Besides laravel/ui Breeze uses the Tailwind CSS. So, no more talk and dive into the topic.
Note: Tested on Laravel 8.65.
Table of Contents
Install & Configure Laravel Breeze
To install Laravel Breeze, you just have to fire the below command in your terminal
composer require laravel/breeze --devAfter the installation, we need to publish the authentication views, routes, controllers, and other resources which are needed for our authentication. So, fire the below command in your terminal.
php artisan breeze:installAfter installing the Breeze we need to compile the static assets so that we can minify our css and js files. Minified assets can give us a faster load time and a reduced number of HTTP requests. To do so fire the below command.
npm install
npm run watch
Configure Database and Migrate
Now we need to configure the database in our .env file like below
DB_CONNECTION=mysql
DB_HOST=127.0.0.1
DB_PORT=3306
DB_DATABASE=breeze
DB_USERNAME=root
DB_PASSWORD=
After setup, we need to run our migrations. So fire the below command in your terminal
php artisan migrateImplement Front End Framework
First, I want to tell you that this step is not required if you want to work with only blades. Because Laravel Breeze has no limitation only with blades, it will allow you to build SPAs (Single Page Application) by using Inertia.js (powered by either Vue or React). So, you can use the below commands to generate authentication according to your needs.
php artisan breeze:install vue

// Or
php artisan breeze:install react
And don't forget to compile the assets via the below commands.
npm install
npm run watch
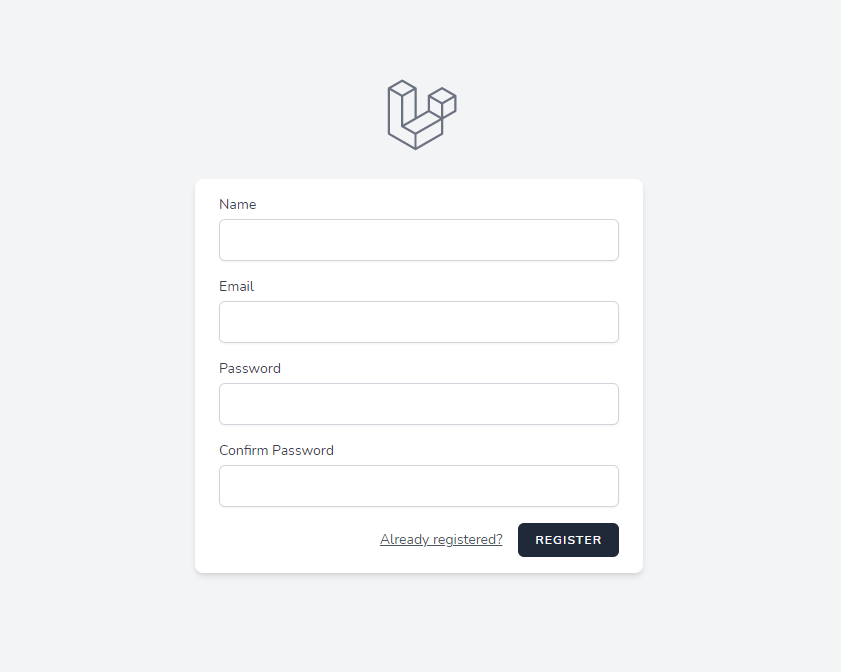
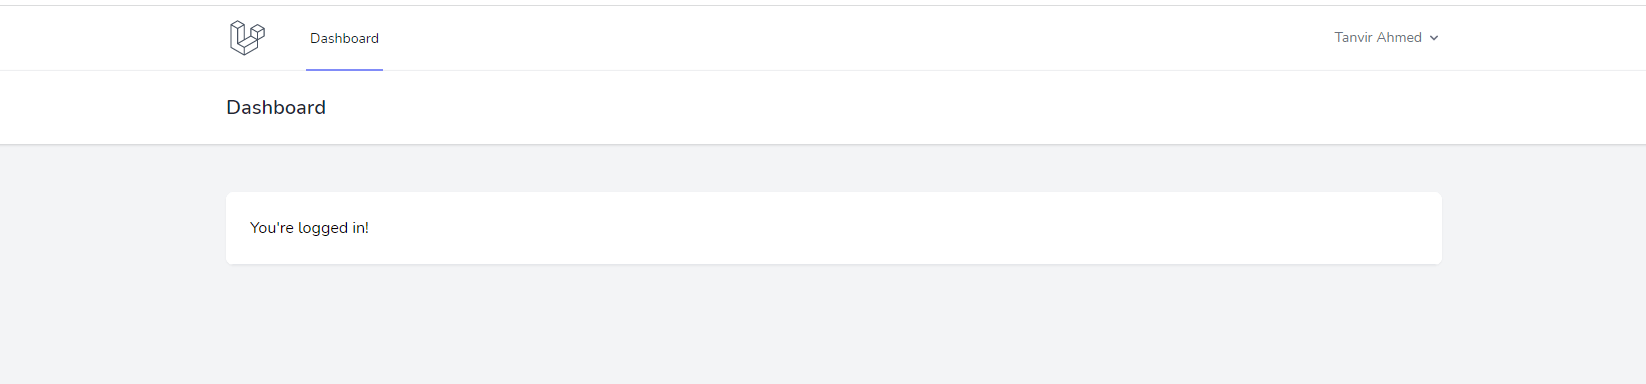
Output
If you run your project then you can see the following outputs.


That's all for today. You can download the project from GitHub also. Thanks for reading. :)