Laravel Upload Multiple Images and Files with Validation
In this article, I’m going to show how to upload multiple images and files with validation. I’m testing in Laravel 7. Let’s get started:
Table of Contents
- Create Model, Migration & Controller
- Config Model & Migration
- Add Methods to Controller
- Create View
- Define Routes
- Run & Test
Create Model, Migration & Controller
Let’s create a model, migration and controller for file upload. Run this command to create all three at once:
php artisan make:model FileUpload -mcConfig Model & Migration
Open FileUpload model from app folder and add this code:
<?php

namespace App;

use Illuminate\Database\Eloquent\Model;

class FileUpload extends Model
{
    protected $fillable = [ 'filename' ];
}
Open the migration file from database/migrations folder and update up() function like this:
public function up()
{
    Schema::create('file_uploads', function (Blueprint $table) {
        $table->id();
        $table->string('filename');
        $table->timestamps();
    });
}
Add Methods to Controller
I’m going to create two methods. One for view and another for upload file. Open the controller from app/Http/Controller and paste this code:
<?php

namespace App\Http\Controllers;

use App\FileUpload;
use Illuminate\Http\Request;

class FileUploadController extends Controller
{
    // show form
    public function index() {
        return view('upload');
    }

    // file upload
    public function upload(Request $request)
    {
        $validator = \Validator::make($request->all(), [
            'files' => 'required'
        ])->validate();

        $total_files = count($request->file('files'));

        foreach ($request->file('files') as $file) {
            // rename & upload files to uploads folder
            $name = uniqid() . '_' . time(). '.' . $file->getClientOriginalExtension();
            $path = public_path() . '/uploads';
            $file->move($path, $name);

            // store in db
            $fileUpload = new FileUpload();
            $fileUpload->filename = $name;
            $fileUpload->save();
        }

        return back()->with("success", $total_files . " files uploaded successfully");
    }
}
Create View
Go to resources/views folder and create a blade file named upload.blade.php. Then paste this code:
@extends('layouts.app')

@section('content')
    <div class="container">
        <div class="row justify-content-center">
            <div class="col-md-8">
                <div class="card">
                    <div class="card-header">File Uploader</div>

                    <div class="card-body">

                        <!-- print success message after file upload  -->
                        @if(Session::has('success'))
                            <div class="alert alert-success">
                                {{ Session::get('success') }}
                                @php
                                    Session::forget('success');
                                @endphp
                            </div>
                        @endif

                        <form method="post" action="{{ route('upload') }}" enctype="multipart/form-data">
                            {{ csrf_field() }}

                            <div class="form-group">
                                <label for="title">Image/file</label>
                                <input type="file" name="files[]" class="form-control-file" multiple="">
                                @if($errors->has('files'))
                                    <span class="help-block text-danger">{{ $errors->first('files') }}</span>
                                @endif
                            </div>

                            <div class="text-center">
                                <button class="btn btn-primary">Upload</button>
                            </div>
                        </form>
                    </div>
                </div>
            </div>
        </div>
    </div>
@endsection
Define Routes
Open routes/web.php file and define two routes:
Route::get('upload', 'FileUploadController@index');
Route::post('upload', 'FileUploadController@upload')->name('upload');
Run & Test
Our application is ready. Let’s run (php artisan serve) our application and visit upload route and test.
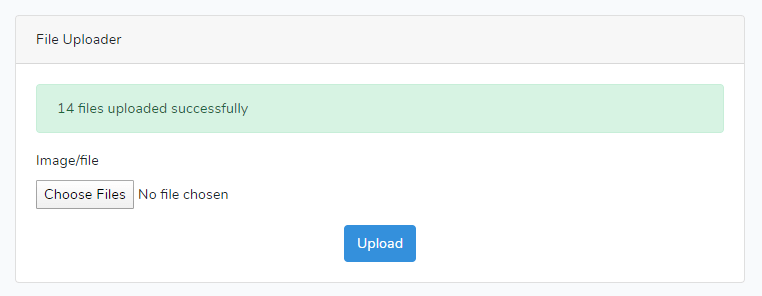
The tutorial is over. You can download this project from GitHub. Thank you.
Md Obydullah
Software Engineer | Ethical Hacker & Cybersecurity...
Md Obydullah is a software engineer and full stack developer specialist at Laravel, Django, Vue.js, Node.js, Android, Linux Server, and Ethichal Hacking.