Laravel Upload Image with CKeditor
Hello Artisans, today I'll show you how to upload image using CKeditor in our Laravel Application. Ckeditor is one of the most featured rich text editor. And today I'm going to show you how we can upload image through this editor. So, no more talk, let's dive into our topic.
Note: Tested on Laravel 9.19.
Table of Contents
Create and Setup Controller
In the very first step, we'll create a controller and also we'll write our necessary codes/logics.
Now fire the below command in terminal
php artisan make:controller ImageControllerIt'll create a file under app\Http\Controllers called ImageController.php. Open the file and replace with below codes.
<?php
namespace App\Http\Controllers;
use Illuminate\Http\Request;
use Illuminate\Support\Str;
class ImageController extends Controller
{
public function create(): \Illuminate\Contracts\View\Factory|\Illuminate\Contracts\View\View|\Illuminate\Contracts\Foundation\Application
{
return view('images.form');
}
public function imageUpload(Request $request)
{
if ($request->hasFile('upload')) {
$file = $request->file('upload');
$extension = $file->getClientOriginalExtension();
$fileName = Str::uuid() . '.' . $extension;
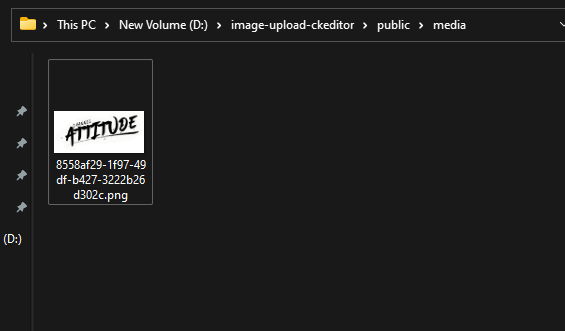
$request->file('upload')->move(public_path('media'), $fileName);
$url = asset('media/' . $fileName);
return response()->json(['fileName' => $fileName, 'uploaded'=> 1, 'url' => $url]);
}
}
public function store(Request $request): \Illuminate\Contracts\View\Factory|\Illuminate\Contracts\View\View|\Illuminate\Contracts\Foundation\Application
{
return view('images.show', $request->all());
}
}
Create and Setup Route
Let's put the below route in web.php
<?php

use Illuminate\Support\Facades\Route;

/*
|--------------------------------------------------------------------------
| Web Routes
|--------------------------------------------------------------------------
|
| Here is where you can register web routes for your application. These
| routes are loaded by the RouteServiceProvider within a group which
| contains the "web" middleware group. Now create something great!
|
*/

Route::get('/', function () {
    return view('welcome');
});

Route::resource('images', \App\Http\Controllers\ImageController::class)->only(['create', 'store']);
Route::post('image-upload', [\App\Http\Controllers\ImageController::class,'imageUpload'])->name('image.upload');
Create and Setup View File
Now we we'll create a blade file where we can setup our view where we can see our form with google recaptcha protected. So let's create two view files called form.blade.php and show.blade.php under resources/views.
Now replace the codes with the corresponding files.
<!doctype html>
<html lang="en">
<head>
<meta charset="UTF-8">
<meta name="viewport"
content="width=device-width, user-scalable=no, initial-scale=1.0, maximum-scale=1.0, minimum-scale=1.0">
<meta http-equiv="X-UA-Compatible" content="ie=edge">
<title>Document</title>
<link rel="stylesheet" href="https://cdn.jsdelivr.net/npm/[email protected]/dist/css/bootstrap.min.css">
<!-- jQuery library -->
<script src="https://cdn.jsdelivr.net/npm/[email protected]/dist/jquery.slim.min.js"></script>
<!-- Popper JS -->
<script src="https://cdn.jsdelivr.net/npm/[email protected]/dist/umd/popper.min.js"></script>
<!-- Latest compiled JavaScript -->
<script src="https://cdn.jsdelivr.net/npm/[email protected]/dist/js/bootstrap.bundle.min.js"></script>
</head>
<body>
<div class="container">
<div class="row justify-content-center mt-5">
<div class="col-md-12 mb-5">
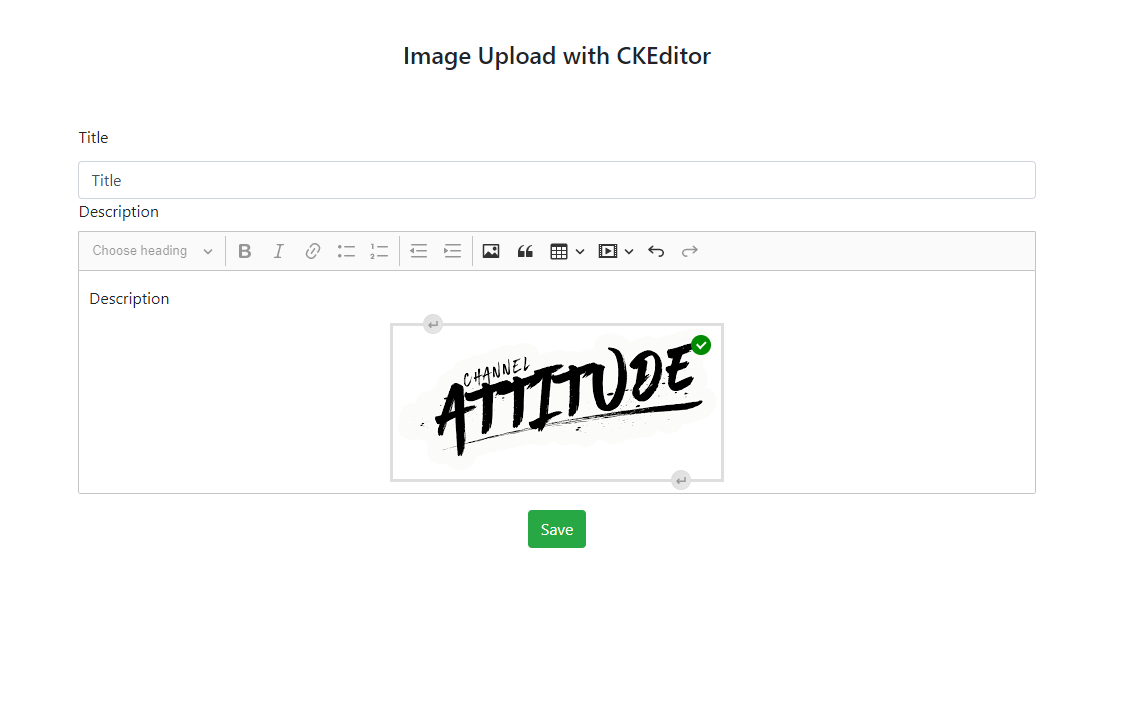
<h4 class="text-center">Image Upload with CKEditor</h4>
</div>
<div class="col-mg-8">
<form action="{{ route('images.store') }}" method="post">@csrf
<div class="row">
<div class="col-md-12">
<label>Title</label>
<input type="text" name="title"
class="form-control @error('title') is-invalid @enderror mt-1 rounded-md"
placeholder="" value="{{old('title')}}"/>
<div class="text-danger">{{ $errors->first('title') }}</div>
</div>
<div class="col-md-12">
<label class="block">Description</label>
<textarea id="editor" class="form-control" name="description"
rows="3"></textarea>
<div class="text-danger">{{ $errors->first('description') }}</div>
</div>
<div class="col-lg-12 mt-3 text-center">
<button class="btn btn-success" type="submit">Save</button>
</div>
</div>
</form>
</div>
</div>
</div>
<script src="https://cdn.ckeditor.com/ckeditor5/34.2.0/classic/ckeditor.js"></script>
<script>
ClassicEditor.create( document.querySelector( '#editor' ),{
ckfinder: {
uploadUrl: '{{route('image.upload').'?_token='.csrf_token()}}',
}
})
.catch( error => {
console.error( error );
} );
</script>
</body>
</html>
<!doctype html>
<html lang="en">
<head>
<meta charset="UTF-8">
<meta name="viewport"
content="width=device-width, user-scalable=no, initial-scale=1.0, maximum-scale=1.0, minimum-scale=1.0">
<meta http-equiv="X-UA-Compatible" content="ie=edge">
<title>Document</title>
<link rel="stylesheet" href="https://cdn.jsdelivr.net/npm/[email protected]/dist/css/bootstrap.min.css">
<!-- jQuery library -->
<script src="https://cdn.jsdelivr.net/npm/[email protected]/dist/jquery.slim.min.js"></script>
<!-- Popper JS -->
<script src="https://cdn.jsdelivr.net/npm/[email protected]/dist/umd/popper.min.js"></script>
<!-- Latest compiled JavaScript -->
<script src="https://cdn.jsdelivr.net/npm/[email protected]/dist/js/bootstrap.bundle.min.js"></script>
</head>
<body>
<div class="container">
<div class="row justify-content-center mt-5">
<div class="col-md-12 mb-5">
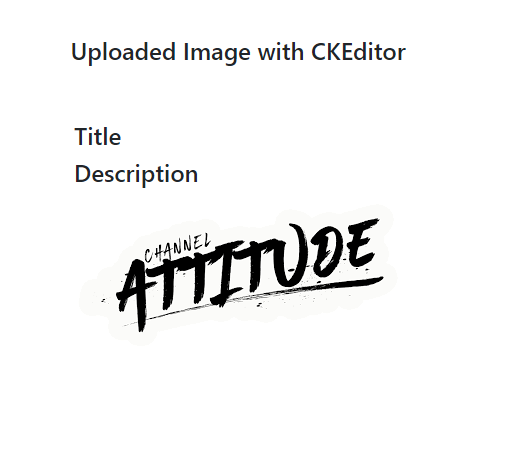
<h4 class="text-center">Uploaded Image with CKEditor</h4>
</div>
<div class="col-mg-8">
<h4>{{ $title }}</h4>
<h4>{!! $description !!}</h4>
</div>
</div>
</div>
</body>
</html>
</body>
</html>
Output
And finally, we're ready with our setup. It's time to check our output. Now go to http://localhost:8000/images/create, If everything goes well (hope so) you can find a below output.
That's it for today. Hope you've enjoyed this tutorial. Catch me in the comment section if anything goes wrong. Thanks for reading.