How to Use Ckeditor and Upload Image Using Ckeditor in Laravel
Hello Artisans, today I'll talk about how to integrate and upload image using Ckeditor. Ckeditor is fully featured WYSIWYG editor which comes with a lot of features. You can find more here. So, let's see how we can use it in our Laravel Application.
Note: Tested on Laravel 9.2.
Table of Contents
Create and Setup blade File
In this step, first we'll create a blade file called ckeditor.blade.php where we'll integrate ckeditor. So, create a file under the resources/views/ckeditor.blade.php and put the below codes.
<!DOCTYPE html>
<html>
<head>
    <title>Laravel 9 Ckeditor Image Upload Example - shouts.dev</title>
</head>
<body>

<h1>Laravel 9 Ckeditor Image Upload Example - shouts.dev</h1>
<textarea name="editor1"></textarea>

<script src="https://cdn.ckeditor.com/4.12.1/standard/ckeditor.js"></script>
<script type="text/javascript">
    CKEDITOR.replace('editor1', {
        filebrowserUploadUrl: "{{route('ckeditor.upload', ['_token' => csrf_token() ])}}",
        filebrowserUploadMethod: 'form'
    });
</script>

</body>
</html>
Create and Setup Controller
Now we'll create a controller where we'll write our logic to show the ckeditor and upload the image using Ckeditor. So, fire the below command in the terminal
php artisan make:controller CkeditorController<?php
namespace App\Http\Controllers;
use Illuminate\Http\Request;
class CkeditorController extends Controller
{
public function index()
{
return view('ckeditor');
}
public function upload(Request $request)
{
if($request->hasFile('upload')) {
$originName = $request->file('upload')->getClientOriginalName();
$fileName = pathinfo($originName, PATHINFO_FILENAME);
$extension = $request->file('upload')->getClientOriginalExtension();
$fileName = $fileName.'_'.time().'.'.$extension;
$request->file('upload')->move(public_path('images'), $fileName);
$CKEditorFuncNum = $request->input('CKEditorFuncNum');
$url = asset('images/'.$fileName);
$msg = 'Image uploaded successfully';
$response = "<script>window.parent.CKEDITOR.tools.callFunction($CKEditorFuncNum, '$url', '$msg')</script>";
@header('Content-type: text/html; charset=utf-8');
echo $response;
}
}
}
Define Routes
Now we will define routes for viewing the Ckeditor and where we'll upload our image through the Ckeditor. Put these below routes in your web.php.
Route::get('ckeditor', [\App\Http\Controllers\CkeditorController::class,'index']);
Route::post('ckeditor/upload', [\App\Http\Controllers\CkeditorController::class,'upload'])->name('ckeditor.upload');
Output
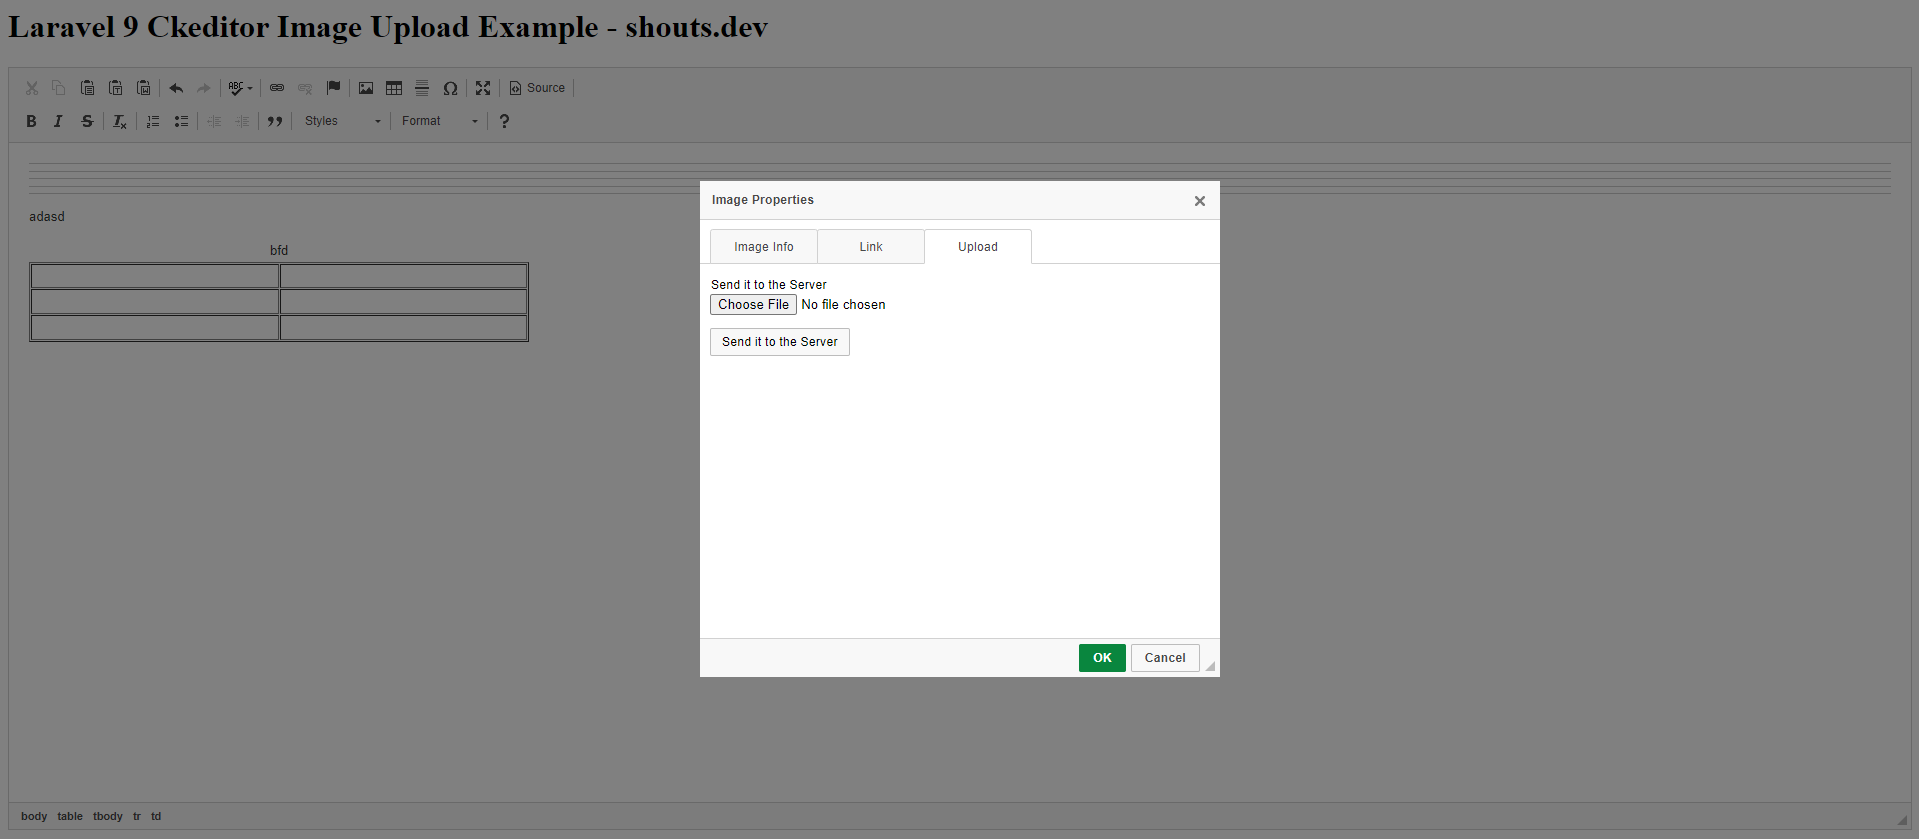
Now we ready with our setup. It's time to check our output. Now go to http://127.0.0.1:8000/ckeditor If everything goes well you'll find a below output.

That's it for today. Hope you'll enjoy this tutorial. You can also download this tutorial from GitHub. Thanks for reading.