How to Send Mail using SendGrid in Laravel 9
Hello Artisans, today I'll show you how to send mail using SendGrid in your laravel application. Sending email is a must thing for every web application. And sendgrid is one of the most popular SMTP for sending emails. So, let's get started and see how we can easily send mail using sendgrid in our laravel application.
Note: Tested on Laravel 9.19
First of all, create a controller so that we can write our logics or query to show the result. So, fire the below commands in the terminal.
php artisan make:controller SenMailControllerIt'll create a controller under app\Http\Controllers called SenMailController.php. Open the file and replace with below codes.
<?php

namespace App\Http\Controllers;

use Illuminate\Support\Facades\Mail;

class SenMailController extends Controller
{
    public function sendMail()
    {
        Mail::send('email',[],function($message) {
            $message->to('[email protected]')->subject('Mailgun Testing');
        });
        dd('Mail Send Successfully');
    }
}
Now we'll create a blade file called email.blade.php under the resources/view. Now open the file and replace with below codes.
<!doctype html>
<html lang="en">
<head>
    <meta charset="UTF-8">
    <meta name="viewport"
          content="width=device-width, user-scalable=no, initial-scale=1.0, maximum-scale=1.0, minimum-scale=1.0">
    <meta http-equiv="X-UA-Compatible" content="ie=edge">
    <title>Document</title>
</head>
<body>
    <h1>Hi, shouts.dev readers</h1>
    <p>Thanks for registering on our website.</p>
</body>
</html>
Now we'll create routes so that we can access in our view file. So, put the below route in web.php file.
<?php

use App\Http\Controllers\SenMailController;
use Illuminate\Support\Facades\Route;

Route::get('/', function () {
    return view('welcome');
});

Route::get('send-mail',[SenMailController::class,'sendMail']);At first we need to setup our sendgrid credentials so that we can use our SMTP properly. So open an account on sendgrid by clicking here if doesn't have an account. After login to the dashboard go to Email API → Integration Guide as pointed to the below image.
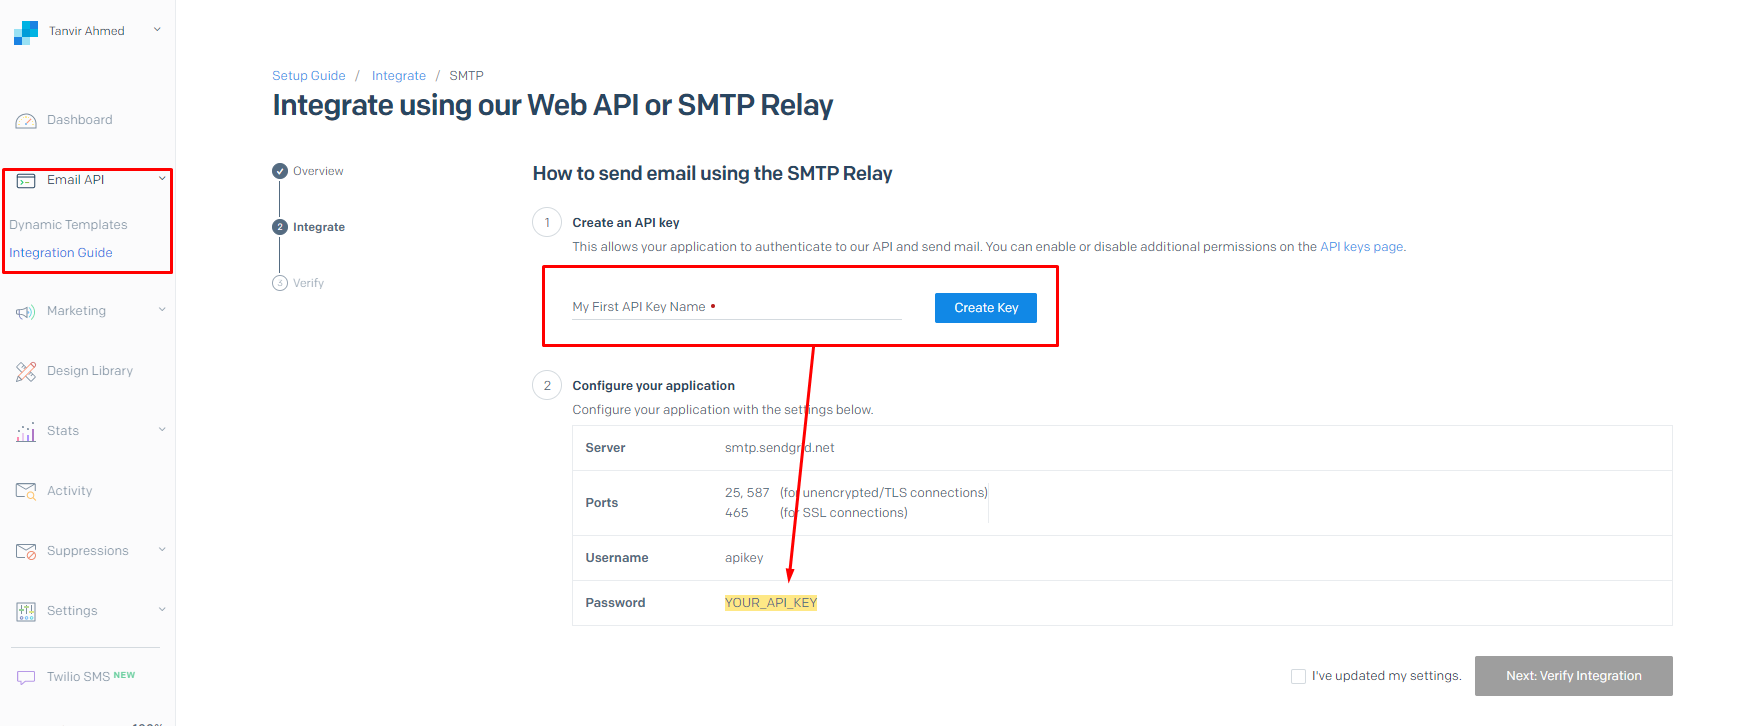
After successfully creating the API key put all the information in .env file as below.
MAIL_MAILER=smtp
MAIL_HOST=smtp.sendgrid.net
MAIL_PORT=465
MAIL_USERNAME=apikey
MAIL_PASSWORD=your_api_key
MAIL_ENCRYPTION=tls
MAIL_FROM_ADDRESS="your_sendgrid_account_username"
MAIL_FROM_NAME="${APP_NAME}"
And that's it our sendgrid setup is ready.
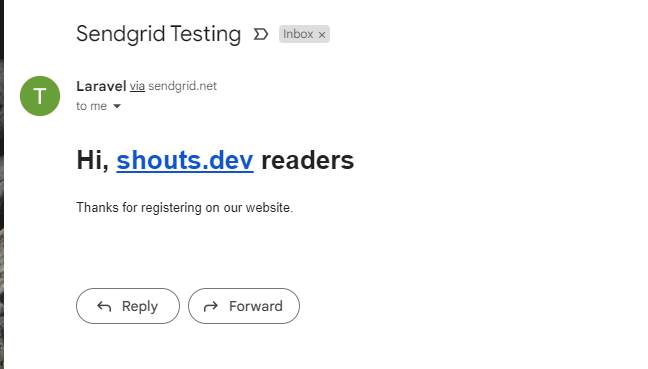
And finally we're ready with our setup. It's time to check our output. Now go to http://127.0.0.1:8000/send-mail, If everything goes well you'll find a below output.

That's it for today. I hope you've enjoyed this tutorial. You can also download this tutorial from GitHub. Thanks for reading. 🙂