Laravel Send Email Notification to Multiple/Single Users
Hello Artisans, today I'll talk about notification system in Laravel applications. In this tutorial we'll learn how we can send notification to our registered users. Laravel provides us variety of support for sending notifications. You can see the more details in the official document. For sending notifications we'll use Google SMTP. You can use any of our mail server if you wish. Now let's see how we can implement notification system and send users to notification.
Note: Tested on Laravel 9.2.
Table of Contents
- Create a Fresh Laravel Application
- Create and Setup Notification
- Create and Setup Controller
- Configure .env for Mail Server
- Define Route
- Output
Create a Fresh Laravel Application
At first we'll install a fresh Laravel application by invoking the below command in our terminal
composer create-project --prefer-dist laravel/laravel notificationor if you've Laravel installer
laravel new notificationCreate and Setup Notification
Now we'll create a notification class where we send our users notification. Fire the below command in your terminal
php artisan make:notification UserNotifyIt'll create a file under app/Notifications. Open the file and replace with the below code.
<?php

namespace App\Notifications;

use Illuminate\Bus\Queueable;
use Illuminate\Notifications\Messages\MailMessage;
use Illuminate\Notifications\Notification;

class UserNotify extends Notification
{
    use Queueable;

    public $data;

    public function __construct($data)
    {
        $this->data = $data;
    }

    public function via($notifiable)
    {
        return ['mail'];
    }

    public function toMail($notifiable)
    {
        return (new MailMessage)
                    ->line('The introduction to the notification.')
                    ->greeting('Hello User')
                    ->line('Notification title : '.$this->data['title']) //Send with post title
                    ->action('Visit Our Site', 'https://shouts.dev')
                    ->line('Thank you for using our Website!');
    }

    public function toArray($notifiable)
    {
        return [
            //
        ];
    }
}
And that's it we've successfully create our notification.
Create and Setup Controller
Now at first we've to make a controller where we can put our logic like when we want to send user notification etc. So, fire the below command to create a controller
php artisan make:controller NotificationControllerIt'll create a controller file under app/Http/Controllers. Open the file put the below code
<?php

namespace App\Http\Controllers;

use App\Models\User;
use App\Notifications\UserNotify;
use Illuminate\Http\Request;
use Illuminate\Support\Facades\Notification;

class NotificationController extends Controller
{
    public function sendNotification(Request $request): \Illuminate\Http\JsonResponse
    {
        //do your logic if any

        //any additional data if you want to send in notification.

        $data = [
            'title' => 'Notification Title',
        ];

        $subscribers = User::pluck('name', 'email')->toArray();

        Notification::route('mail', $subscribers) //Sending mail to subscribers
        ->notify(new UserNotify($data)); //With new post

        return response()->json([
            'success' => 'Mail Send Successfully'
        ]);
    }
}
Configure .env for Mail Server
As we earlier said that we'll use Google SMTP server for sending mail, if you're new to Google SMTP then you can see one of my short tutorial on Google SMTP, you can check if your .env file has the following configuration for email server
MAIL_MAILER=smtp
MAIL_HOST=smtp.gmail.com
MAIL_PORT=587
[email protected]
MAIL_PASSWORD=vvvnptzfqndcqrna
MAIL_ENCRYPTION=tls
MAIL_FROM_ADDRESS="[email protected]"
MAIL_FROM_NAME="${APP_NAME}"
Define Route
Put the following route in your web.php file.
Route::get('send-notification',[\App\Http\Controllers\NotificationController::class,'sendNotification'])->name('send.notification');
And that's it. We'll done with our coding part.
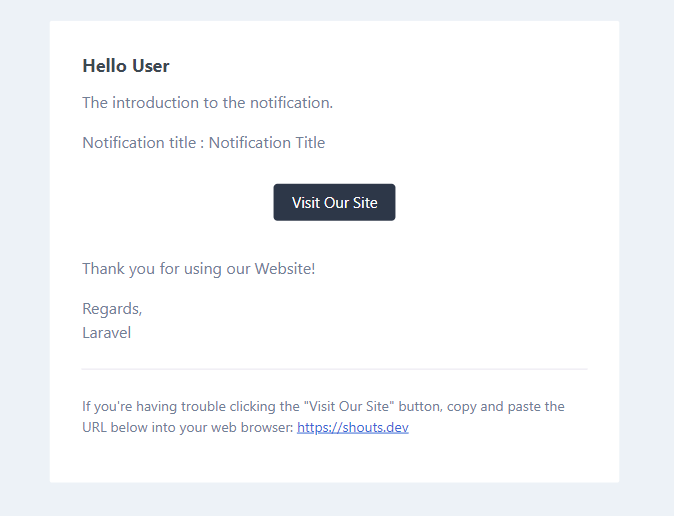
Output
Now it's time to check the output. If we go to http://127.0.0.1:8000/send-notification then mail be send to all users and we can see the below email body in our inbox.
That's it for today. Hope you'll enjoy this tutorial. You can also download this tutorial from GitHub. Thanks for reading. 🙂