Laravel Ajax File Upload with Progress Bar
Hello Artisans, today I'll talk about how we can upload files with indicating progress bar. Sometimes we need to inform the user or for better user experience we need to add some loader. But what about file upload? That's why today's tutorial was about. So, no more talk let's see how we can easily add a real time progress bar while uploading the file.
Note: Tested on Laravel 9.19.
Table of Contents
Create and Setup Controller
First of all, we'll create a controller so that we can return our view and let the user to upload the file via the html form. So, fire the below commands in the terminal.
php artisan make:controller FileUploadControllerIt'll create a file under app\Http\Controllers called FileUploadController.php. Open the file and replace with below codes.
<?php

namespace App\Http\Controllers;

use Illuminate\Http\Request;

class FileUploadController extends Controller
{
    public function index(): \Illuminate\Contracts\View\Factory|\Illuminate\Contracts\View\View|\Illuminate\Contracts\Foundation\Application
    {
        return view('file-upload');
    }

    public function store(Request $request)
    {
        $request->validate([
            'file' => 'required',
        ]);

        $fileName = time().'.'.request()->file->getClientOriginalExtension();

        request()->file->move(public_path('files'), $fileName);

        return response()->json(['success'=>'You have successfully upload file.']);
    }
}
Define Routes
Now we'll set our necessary routes in web.php file. Open the file replace with below codes.
<?php

use Illuminate\Support\Facades\Route;

Route::get('/', function () {
    return view('welcome');
});

Route::controller(\App\Http\Controllers\FileUploadController::class)->group(function(){
    Route::get('file-upload', 'index');
    Route::post('file-upload', 'store')->name('file.upload');
});
Create and Setup Blade File
Now we we'll create a blade file where we can setup our form. So let's create a view file called file-upload.blade.php under resources/views and paste the below code in the following file.
<!DOCTYPE html>
<html lang="{{ str_replace('_', '-', app()->getLocale()) }}">
<head>
    <meta charset="utf-8">
    <meta name="viewport" content="width=device-width, initial-scale=1">
    <title>File Upload with Progress Bar - shouts.dev</title>
    <link href="https://cdn.jsdelivr.net/npm/[email protected]/dist/css/bootstrap.min.css" rel="stylesheet">
</head>
<body>
<div class="container mt-5" style="max-width: 900px">

    <div class="alert alert-primary mb-4 text-center">
        <h2 class="display-6">Laravel 9 File Upload with Ajax Progress Bar Example - shouts.dev</h2>
    </div>
    <form id="fileUploadForm" method="POST" action="{{ route('file.upload') }}" enctype="multipart/form-data">
        @csrf
        <div class="form-group mb-3">
            <input name="file" type="file" class="form-control">
        </div>
        <div class="form-group">
            <div class="progress">
                <div class="progress-bar progress-bar-striped progress-bar-animated bg-success" role="progressbar" aria-valuenow="0" aria-valuemin="0" aria-valuemax="100" style="width: 0%"></div>
            </div>
        </div>
        <div class="d-grid mt-4">
            <input type="submit" value="Submit" class="btn btn-primary">
        </div>
    </form>
</div>
<script src="https://ajax.googleapis.com/ajax/libs/jquery/3.3.1/jquery.min.js"></script>
<script src="https://cdnjs.cloudflare.com/ajax/libs/jquery.form/4.3.0/jquery.form.min.js"></script>
<script>
    $(function () {
        $(document).ready(function () {
            $('#fileUploadForm').ajaxForm({
                beforeSend: function () {
                    var percentage = '0';
                },
                uploadProgress: function (event, position, total, percentComplete) {
                    var percentage = percentComplete;
                    $('.progress .progress-bar').css("width", percentage+'%', function() {
                        return $(this).attr("aria-valuenow", percentage) + "%";
                    })
                },
                complete: function (xhr) {
                    alert('File has uploaded');
                }
            });
        });
    });
</script>
</body>
</html>
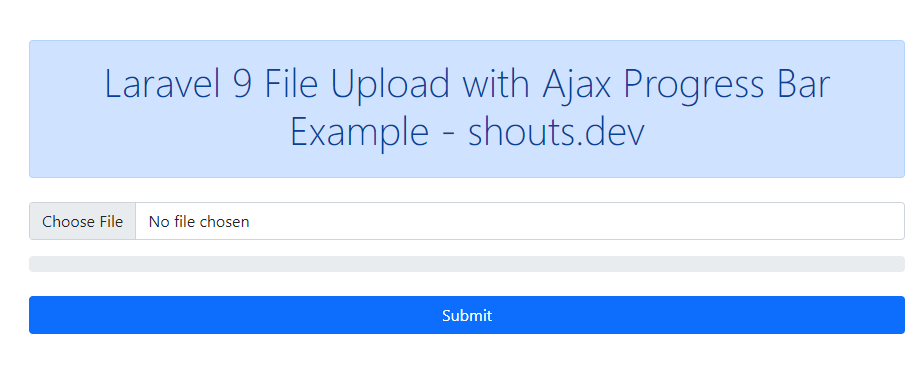
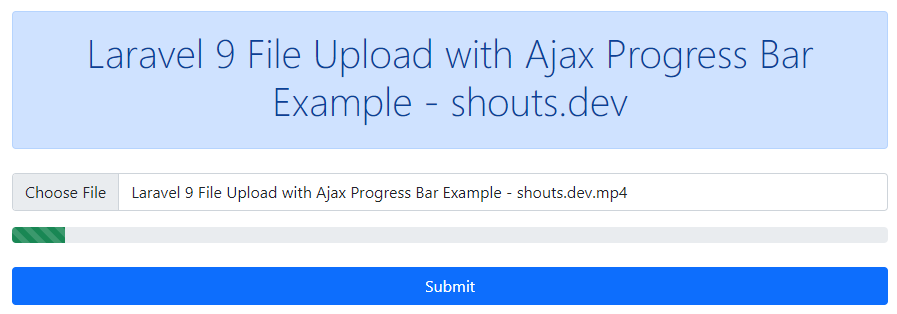
Output
And finally we're ready with our setup. It's time to check our output. Now go to http://127.0.0.1:8000/file-upload, If everything goes well (hope so) you'll find a below output.
That's it for today. I hope you've enjoyed this tutorial. You can also download this tutorial from GitHub. Thanks for reading. 🙂