Laravel 10 How to Add Full Text search using Laravel
Hello Artisan, today I'll show you how to add full-text search or scout in our Laravel application. Scout provides us various features like adding indexes which gives us the faster result, easy integration, etc. For that, we'll use Laravel Scout library, for more info see here. So, no more talk let's see how we can easily add Scout to our application.
- Install laravel/scout and configure
- Setup User.php
- Generate fake data with tinker and Indexing with scout
- Setup Controller
- Setup Route
- Setup View
- Output
To install laravel/scout, we just need to fire the below command in the terminal
composer require laravel/scoutAfter installation, we need to publish the config for this package. Fire the below command in the terminal.
php artisan vendor:publish --provider="Laravel\Scout\ScoutServiceProvider"After the publish the config, we need to add a new variable in our .env.
SCOUT_DRIVER=databaseAfter setup everything up, we can now run our migration. Fire the below command in the terminal.
php artisan migrateNow we need to modify our model a little bit. Here we've to define the searchable field, which means from which fields we want to scout our database table. So for that first, we've to use the Searchable trait of Laravel scout package. And then we've to use the toSearchableArray() of this trait. So, let's look at the below code snippet.
<?php

namespace App\Models;

// use Illuminate\Contracts\Auth\MustVerifyEmail;
use Illuminate\Database\Eloquent\Factories\HasFactory;
use Illuminate\Foundation\Auth\User as Authenticatable;
use Illuminate\Notifications\Notifiable;
use Laravel\Sanctum\HasApiTokens;
use Laravel\Scout\Searchable;

class User extends Authenticatable
{
    use HasApiTokens, HasFactory, Notifiable,Searchable;

    protected $fillable = [
        'name',
        'email',
        'password',
    ];

    protected $hidden = [
        'password',
        'remember_token',
    ];

    protected $casts = [
        'email_verified_at' => 'datetime',
        'password' => 'hashed',
    ];

    public function toSearchableArray()
    {
        return [
            'name' => $this->name,
            'email' => $this->email
        ];
    }
}
Now we'll generate some fake data with tinker. If you're not familiar with tinker, I strongly suggest you to look at one of my short tutorial about Tinker. Now fire the below command in terminal to create dummy records.
php artisan tinker

App\Models\User::factory()->count(20)->create()
It'll create 20 new records in the user table. Now fire the below command in the terminal to index the scoutable field, So that we can get the result in the quickest way.
php artisan scout:import "App\Models\User"
So at first, we'll create a controller by firing the below command
php artisan make:controller UserControllerIt'll create a controller under app/Http/Controllers, open the file and put index() method in your controller. Look at the below source code.
<?php

namespace App\Http\Controllers;

use App\Models\User;
use Illuminate\Http\Request;

class UserController extends Controller
{
    public function index(Request $request): \Illuminate\Contracts\View\View|\Illuminate\Foundation\Application|\Illuminate\Contracts\View\Factory|\Illuminate\Contracts\Foundation\Application
    {
        if($request->search)
        {
            $users = User::search($request->search)->get();
        }
        else
        {
            $users = User::get();
        }

        return view('users', compact('users'));
    }
}
Put the below route in the web.php file.
<?php

use App\Http\Controllers\UserController;
use Illuminate\Support\Facades\Route;

Route::get('/', function () {
    return view('welcome');
});


Route::get('users', [UserController::class, 'index']);Now we need to set up the blade file, so that we can show the result in a nice way.
<!DOCTYPE html>
<html>
<head>
    <title>Laravel 10 Scout Full Text Search Tutorial - shouts.dev</title>
    <link href="https://cdnjs.cloudflare.com/ajax/libs/twitter-bootstrap/5.0.1/css/bootstrap.min.css" rel="stylesheet">
</head>
<body>

<div class="container">
    <h1>Laravel 10 Scout Full Text Search Tutorial</h1>

    <form method="GET">
        <div class="input-group mb-3">
            <input
                type="text"
                name="search"
                value="{{ request()->get('search') }}"
                class="form-control"
                placeholder="Search..."
                aria-label="Search"
                aria-describedby="button-addon2">
            <button class="btn btn-success" type="submit" id="button-addon2">Search</button>
        </div>
    </form>

    <table class="table table-bordered data-table">
        <thead>
        <tr>
            <th>#</th>
            <th>Name</th>
            <th>Email</th>
        </tr>
        </thead>
        <tbody>
        @foreach($users as $key=> $user)
            <tr>
                <td>{{ ++$key }}</td>
                <td>{{ $user->name }}</td>
                <td>{{ $user->email }}</td>
            </tr>
        @endforeach
        </tbody>
    </table>
</div>

</body>
</html>
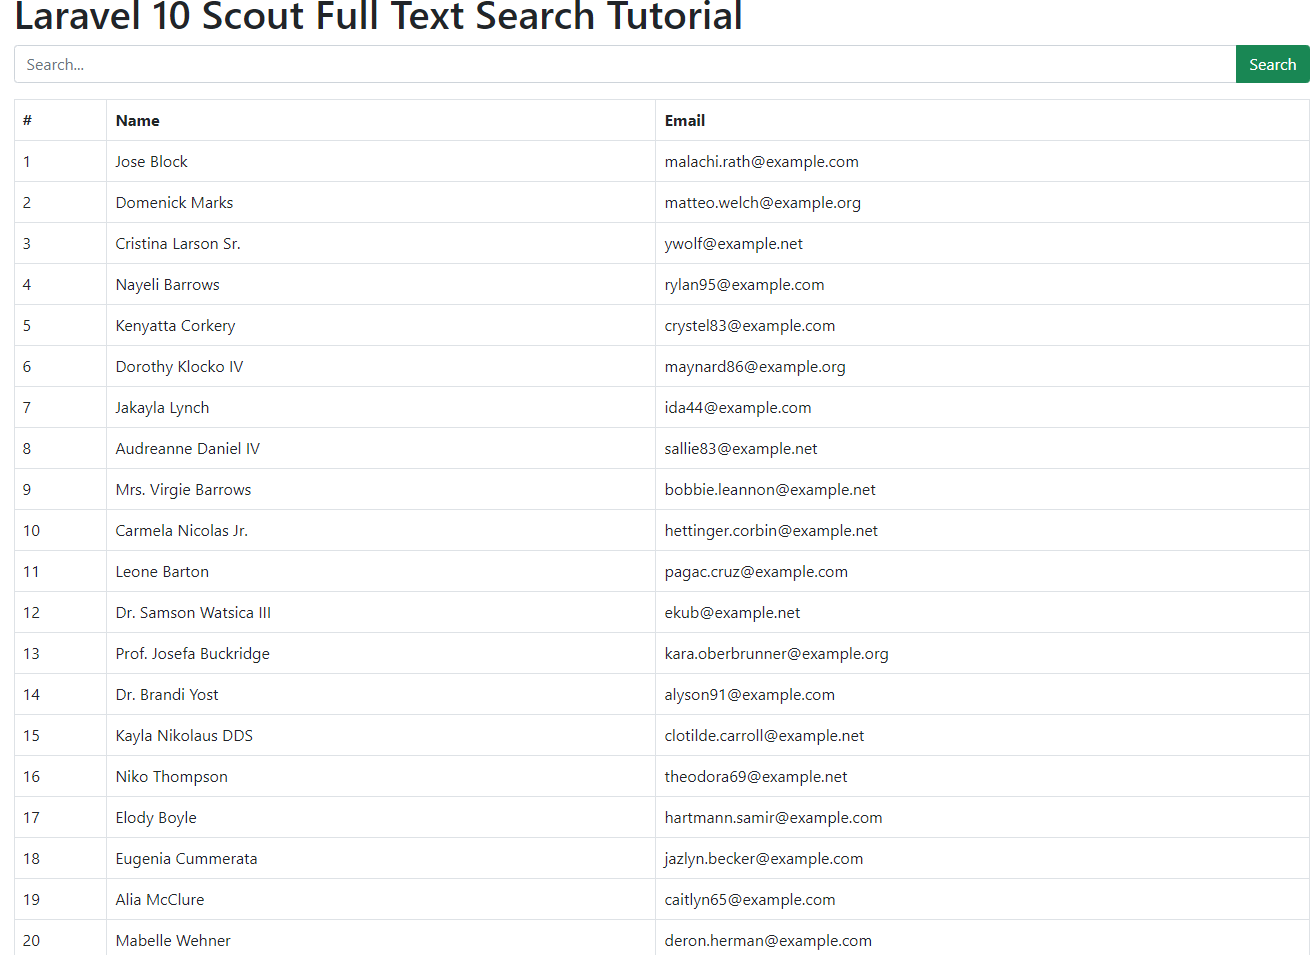
Now it's time to check the output. Go to localhost:8000/users, and you'll find the below output.
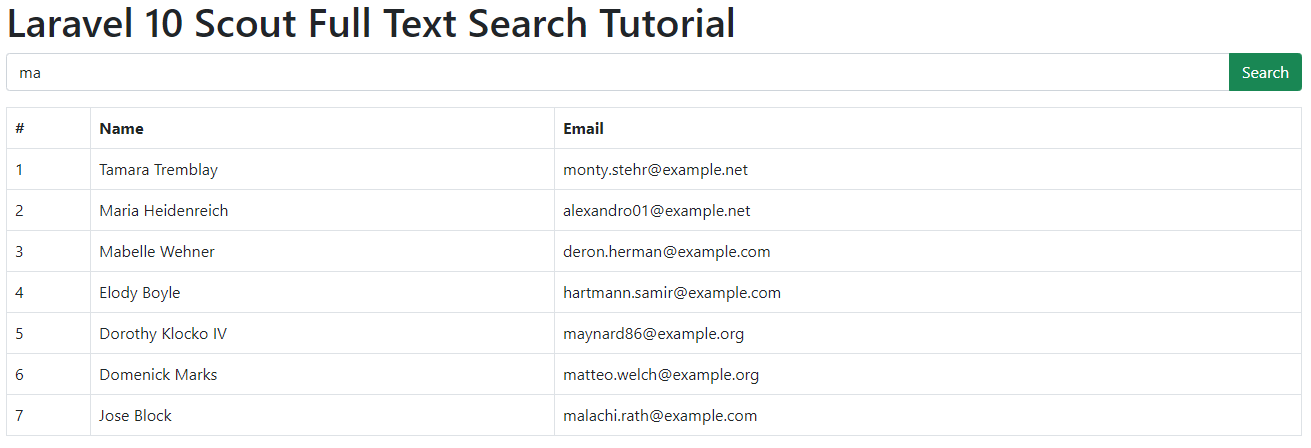
And when we try to search with either name or email, we'll find something like this.
That's it for today. I hope it'll be helpful in upcoming projects. You can also download this source code from GitHub. Thanks for reading. 🙂