Laravel How to Get Random Records from Database
Hello artisans, today I'll show you how to get random records from database. Sometimes we may need to run in a situation where we need to retrieve our data in random order. For that we'll use laravel in built collection method called inrandomorder(). Let's see how we can implement in our application.
Note: Tested on Laravel 9.19.
Table of Contents
- Create and Setup Controller
- Create and Setup Route
- Create and Setup View File
- Create Dummy Data using Tinker
- Output
Create and Setup Controller
In the very first step, we'll create a controller, and we'll write our necessary codes/logics.
Now fire the below command in terminal
php artisan make:controller UserControllerIt'll create a file under app\Http\Controllers called UserController.php. Open the file and replace with below codes.
<?php

namespace App\Http\Controllers;

use App\Models\User;

class UserController extends Controller
{
    public function index(): \Illuminate\Contracts\View\Factory|\Illuminate\Contracts\View\View|\Illuminate\Contracts\Foundation\Application
    {
        $data = [
            'users' => User::inrandomorder()->get(),
        ];

        return view('users',$data);
    }
}
Create and Setup Route
Let's put the below route in web.php
<?php

use Illuminate\Support\Facades\Route;

Route::get('users',[\App\Http\Controllers\UserController::class,'index'])->name('users');
Create and Setup View File
Now we we'll create a blade file where we can setup our view where we can see list of users. So, let's create a view file called users.blade.php under resources/views.
<!doctype html>
<html lang="en">
<head>
    <meta charset="UTF-8">
    <meta name="viewport"
          content="width=device-width, user-scalable=no, initial-scale=1.0, maximum-scale=1.0, minimum-scale=1.0">
    <meta http-equiv="X-UA-Compatible" content="ie=edge">
    <title>Document</title>
    <!-- Latest compiled and minified CSS -->
    <link rel="stylesheet" href="https://cdn.jsdelivr.net/npm/[email protected]/dist/css/bootstrap.min.css">

    <!-- jQuery library -->
    <script src="https://cdn.jsdelivr.net/npm/[email protected]/dist/jquery.slim.min.js"></script>

    <!-- Popper JS -->
    <script src="https://cdn.jsdelivr.net/npm/[email protected]/dist/umd/popper.min.js"></script>

    <!-- Latest compiled JavaScript -->
    <script src="https://cdn.jsdelivr.net/npm/[email protected]/dist/js/bootstrap.bundle.min.js"></script>
</head>
<body>
<div class="container">
    <div class="row justify-content-center mt-5">
        <div class="col-md-12">
            <h4 class="text-center">Get Users in a Random Records</h4>
            <table class="table mt-5">
                <thead>
                <tr>
                    <th scope="col">#</th>
                    <th scope="col">Name</th>
                    <th scope="col">Email</th>
                    <th scope="col">Created At</th>
                </tr>
                </thead>
                <tbody>
                @foreach($users as $key=> $user)
                    <tr>
                        <th scope="row">{{ $key+1 }}</th>
                        <td>{{ $user->name }}</td>
                        <td>{{ $user->email }}</td>
                        <td>{{ $user->created_at }}</td>
                    </tr>
                @endforeach
                </tbody>
            </table>
        </div>
    </div>
</div>
</body>
</html>
Create Dummy Data using Tinker
Now we'll create some dummy records using Tinker. If you're not familiar with tinker, you can consider a reading one of my short article on tinker.
Fire the below command in terminal.
php artisan tinkerAnd after initiate the tinker, use the below command to create 100 users.
App\Models\User::factory()->count(100)->create()Output
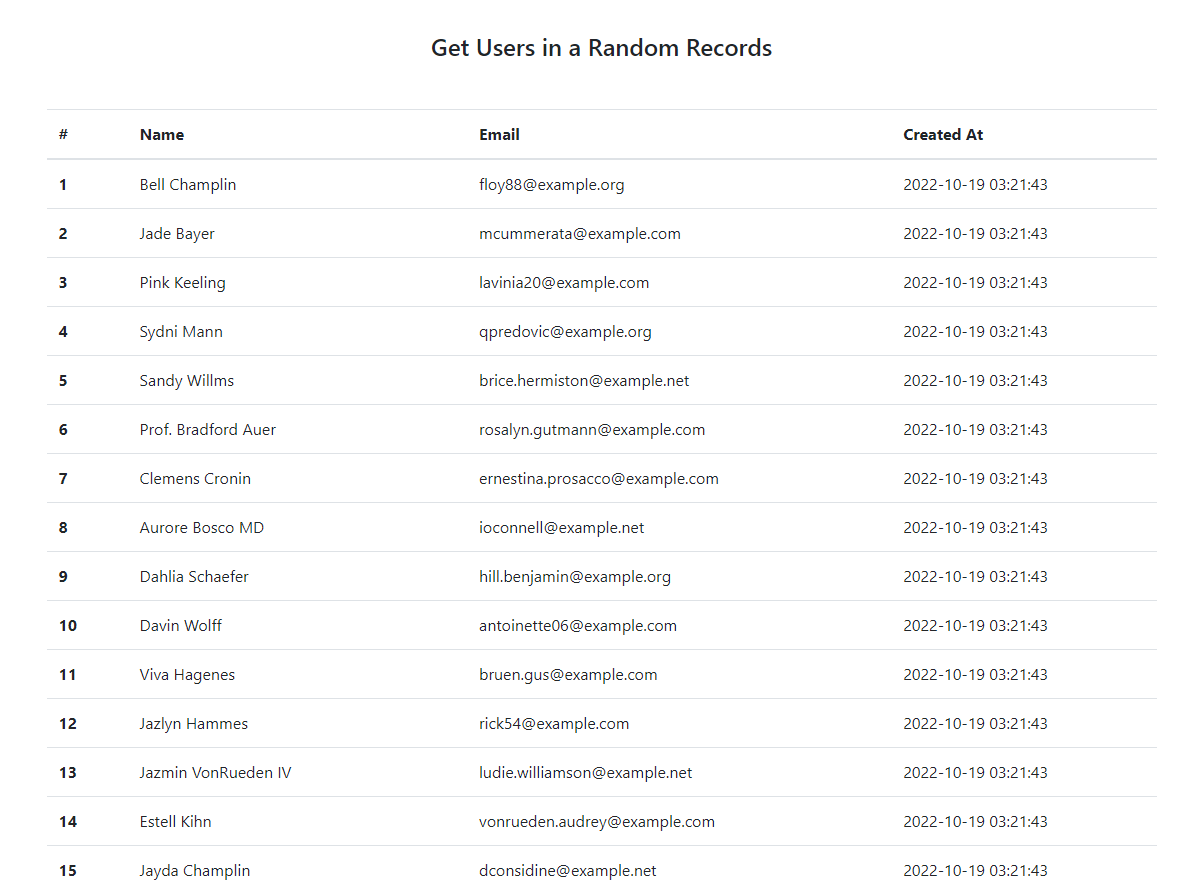
And finally, we're ready with our setup. It's time to check our output. Now go to http://localhost:8000/users, If everything goes well (hope so) you can find a below output.
That's it for today. Hope you've enjoyed this tutorial. Catch me in the comment section if anything goes wrong. You can also download this tutorial from GitHub. Thanks for reading.