How to Properly Switch WordPress Themes on Your Site
If you looking to change the WordPress theme on your site then you can follow some steps given in below to solve the problem. It’s a quite simple process, as long as you keep a few things in mind. In this article, we will show you how to properly switch WordPress themes.
Preparing for a WordPress Theme Switch
By changing the appearance of your whole website is the main step. Before you start, we highly recommend that you create a complete backup of your site before making any changes.
After creating a complete backup of your website, you need to follow our complete checklist of 15 things you MUST DO before changing your WordPress theme.
Now, take good notes on your theme, let’s start the process of switching themes.
Installing a New WordPress Theme
There are not only the free but also the paid WordPress themes available for you to pick from. As you’re reading this article means you’ve already found a good theme for your needs.
If you haven’t, then look through this article on selecting a perfect theme .
Before you can switch themes, you first need to install the new theme on your site.
How to Install a Free Theme in WordPress
If you’re trying to change a free theme that is in the Theme Directory on WordPress.org, then you can install it directly from your WordPress admin area by using the search feature.
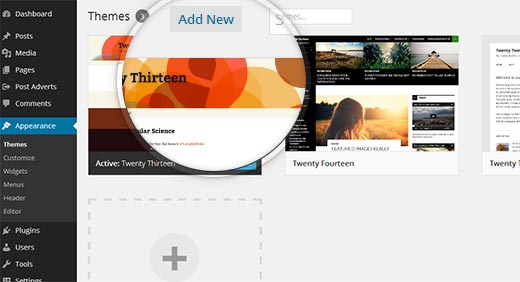
At first, you need to go to Appearance » Themes where you will see a list of all currently installed themes on your site. Next, click on the Add New button on the top of the screen.
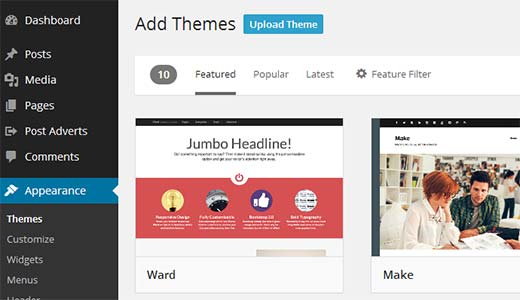
This will take you to the Add New theme page where you can search and browse free themes from WordPress.org themes directory. For the sake of this example, let’s say that you want to install the Slipstream theme .
Start by typing the name of the theme in the search box, and it will automatically appear in the results.

Now check the theme’s screenshot, you will see a Install button. Simply click on the install button to download and install the theme.
You need to remember that installing a theme does not automatically “activate” or apply that theme on your website. It simply downloads the theme. We will show you how to activate an installed theme later in this article.
Installing a Theme from a Zip File
There is another way to install a theme in WordPress is by uploading the zip file of your theme. If you want to use a commercial WordPress theme, then you must use this method because the search method we showed above only works for free themes that are listed in the WordPress.org themes directory.
After start downloading the theme zip file on your computer. As you have a theme zip file, then you need to go to Appearance » Themes and click on the Add New button on top of the screen.
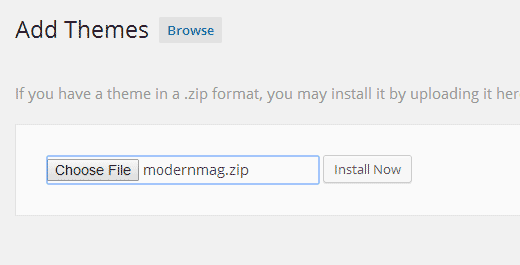
Now you need to click on the Upload Theme button on top of the add new theme screen.
This is the Theme upload form. Simply click on the Choose file button and then locate the zip file on your computer. After selecting the zip file, you need to click on the install now button.
Now WordPress will upload the zip archive from your computer to your website and install it for you.
Activating a Theme in WordPress
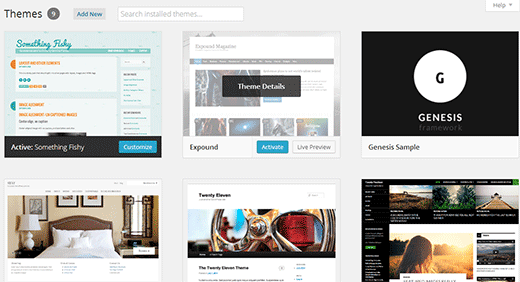
After successfully installed a WordPress theme, it is time to activate and apply that theme on your website. Start by going to Appearance » Themes where you will see all the themes installed on your WordPress site including the new one that you just added.
Take the mouse over to the theme you want to activate, and you will see an Activate button below that theme.
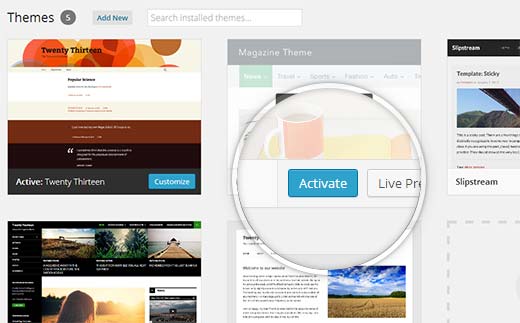
Now all you need to do is click on the Activate button to apply that theme on your WordPress site. You can also use the Live Preview button to see how the new theme would look on your site.
After activated, you can visit the front page of your website to see the new theme in action.
We hope this article will help you properly switch your WordPress theme.