Vue.js Lazy Loading Components in Vue Router
In this article, I’m going to share how to lazy load components in vue router using dynamic imports. Let’s start:
Table of Contents
Step 1 : Create Project & Setup
Create a project and go to the project directory:
# create
vue create vue-lazy-load-components
# go to directory
cd vue-lazy-load-components
We’ll test the lazy load in vue router. We need to install vue router:
npm i vue-routerStep 2 : Create Components
Let’s create 3 components and add simple text.
<template>
  <div>
    <h1>This is home page</h1>
  </div>
</template><template>
<div>
<h1>This is about page</h1>
</div>
</template><template>
<div>
<h1>This is contact page</h1>
</div>
</template>Step 3 : Create Lazy Routes
Open main.js and import vue-router & components.
import Vue from 'vue'
import App from './App.vue'
import VueRouter from "vue-router";
import Home from './components/Home.vue';

// dynamic imports
const About = () => import('./components/About.vue');
const Contact = () => import('./components/Contact.vue');

Vue.use(VueRouter);

const router = new VueRouter({
  mode: "history",
  routes: [
    { path: '/', component: Home },
    {path: '/about', component: About},
    {path: '/contact', component: Contact}
  ]
})

Vue.config.productionTip = false

new Vue({
	router,
	render: h => h(App),
}).$mount('#app')
To make lazy load, we’ve imported the components using dynamic import:
const About = () => import('./components/About.vue');
const Contact = () => import('./components/Contact.vue');
Step 4 : Test Lazy Load
Open App.vue files and display the router links like:
<template>
<div id="app">
<ul class="nav">
<router-link to="/">Home</router-link>
<router-link to="/about">About</router-link>
<router-link to="/contact">Contact</router-link>
</ul>
<router-view></router-view>
</div>
</template>
<script>
export default {
name: 'app',
}
</script>
<style>
#app {
font-family: 'Avenir', Helvetica, Arial, sans-serif;
-webkit-font-smoothing: antialiased;
-moz-osx-font-smoothing: grayscale;
text-align: center;
color: #2c3e50;
margin-top: 60px;
}
ul a {
padding: 5px;
}
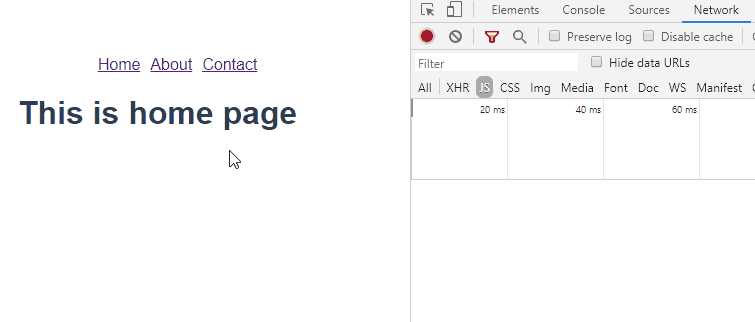
</style>Now let’s run the app using npm run serve command. Take a look at the network tab of the console.
The tutorial is over. You can download this project from GitHub. Thank you.
Md Obydullah
Software Engineer | Ethical Hacker & Cybersecurity...
Md Obydullah is a software engineer and full stack developer specialist at Laravel, Django, Vue.js, Node.js, Android, Linux Server, and Ethichal Hacking.