Laravel 10 Vite How to Install SweetAlert2
Hello Artisan, today I'll show you how to How to Install Sweetalert2 in our Laravel 10 Vite. In this guide, we'll walk through how to install SweetAlert2 in Laravel. We'll provide a step-by-step demonstration of adding SweetAlert2 to your Laravel 10 project. This tutorial will offer a straightforward example of how to use npm to install SweetAlert2 in Laravel.
I'd be happy to help you with that. Here are three methods to install SweetAlert2 in your Laravel 10 application using Vite and npm. Let's explore each method one by one.
- Install Laravel App
- Example 1: Laravel Add Sweetalert2 using CDN
- Example 2: Laravel Vite Add Sweetalert2 using NPM
- Run Laravel App
- Output
Creating the Laravel app is not necessary for this step, but if you haven't done it yet, you can proceed by executing the following command
composer create-project laravel/laravel Sweetalert2we can easily use SweetAlert2 by directly including it from a CDN like CDNJS. Just add a script tag in the head section of your HTML or blade file. This way, there's no need to download anything separately.
<!doctype html>
<html lang="{{ str_replace('_', '-', app()->getLocale()) }}">
<head>
    <meta charset="utf-8">
    <meta name="viewport" content="width=device-width, initial-scale=1">

    <!-- CSRF Token -->
    <meta name="csrf-token" content="{{ csrf_token() }}">

    <title>{{ config('app.name', 'Laravel') }}</title>

    <!-- Fonts -->
    <link rel="dns-prefetch" href="//fonts.bunny.net">
    <link href="https://fonts.bunny.net/css?family=Nunito" rel="stylesheet">

    <script src="https://ajax.googleapis.com/ajax/libs/jquery/1.11.3/jquery.min.js"></script>

    <link href='https://cdn.jsdelivr.net/npm/[email protected]/dist/sweetalert2.min.css'>
    <script src="https://cdn.jsdelivr.net/npm/[email protected]/dist/sweetalert2.all.min.js"></script>

    <link href="https://cdn.jsdelivr.net/npm/[email protected]/dist/css/bootstrap.min.css">

</head>
<body>
    <div id="app">

        <main class="container">
            <h1> How To Install Sweetalert2 in Laravel? - shouts.dev</h1>

            <button class="btn btn-success">Click Me!</button>
        </main>
    </div>

</body>

<script>
  $('button').click(function(){
      Swal.fire({
        title: 'Are you sure?',
        text: "You won't be able to revert this!",
        icon: 'warning',
        showCancelButton: true,
        confirmButtonColor: '#3085d6',
        cancelButtonColor: '#d33',
        confirmButtonText: 'Yes, delete it!'
      }).then((result) => {
        if (result.isConfirmed) {
          Swal.fire(
            'Deleted!',
            'Your file has been deleted.',
            'success'
          )
        }
      });
  });
</script>

</html>Now let's use the npm command to add Sweetalert2. Just run the following command for that.
npm install jquery
npm install sweetalert2
Let's add the following lines to your app.js file to import jQuery.
import jQuery from 'jquery';
window.$ = jQuery;

import swal from 'sweetalert2';
window.Swal = swal;
Next, we need to add $ in your vite config file. so, let's add it.
import { defineConfig } from 'vite';
import laravel from 'laravel-vite-plugin';

export default defineConfig({
    plugins: [
        laravel({
            input: [
                'resources/sass/app.scss',
                'resources/js/app.js',
            ],
            refresh: true,
        }),
    ],
    resolve: {
        alias: {
            '$': 'jQuery'
        },
    },
});
Next, create the npm JavaScript and CSS files by using the following command:
npm run devNow, we're all set to employ jQuery with Vite. Take a look at this straightforward Blade file code.
<!doctype html>
<html lang="{{ str_replace('_', '-', app()->getLocale()) }}">
<head>
    <meta charset="utf-8">
    <meta name="viewport" content="width=device-width, initial-scale=1">

    <!-- CSRF Token -->
    <meta name="csrf-token" content="{{ csrf_token() }}">

    <title>{{ config('app.name', 'Laravel') }}</title>

    <!-- Fonts -->
    <link rel="dns-prefetch" href="//fonts.bunny.net">
    <link href="https://fonts.bunny.net/css?family=Nunito" rel="stylesheet">

    <!-- Scripts -->
    @vite(['resources/sass/app.scss', 'resources/js/app.js'])

    <script type="module">

        $('button').click(function(){
            Swal.fire({
                title: 'Are you sure?',
                text: "You won't be able to revert this!",
                icon: 'warning',
                showCancelButton: true,
                confirmButtonColor: '#3085d6',
                cancelButtonColor: '#d33',
                confirmButtonText: 'Yes, delete it!'
            }).then((result) => {
                if (result.isConfirmed) {
                    Swal.fire(
                        'Deleted!',
                        'Your file has been deleted.',
                        'success'
                    )
                }
            });
        });

    </script>

</head>
<body>
<div id="app">

    <main class="container">
        <h1> How To Install Sweetalert2 in Laravel? - shouts.dev</h1>

        <button class="btn btn-success">Click Me</button>
    </main>
</div>

</body>
</html>
You're all set! Just type the command below and press "Enter" to launch your Laravel app:
php artisan serveNow, Go to your web browser, type the given URL and view the app output:
http://127.0.0.1:8000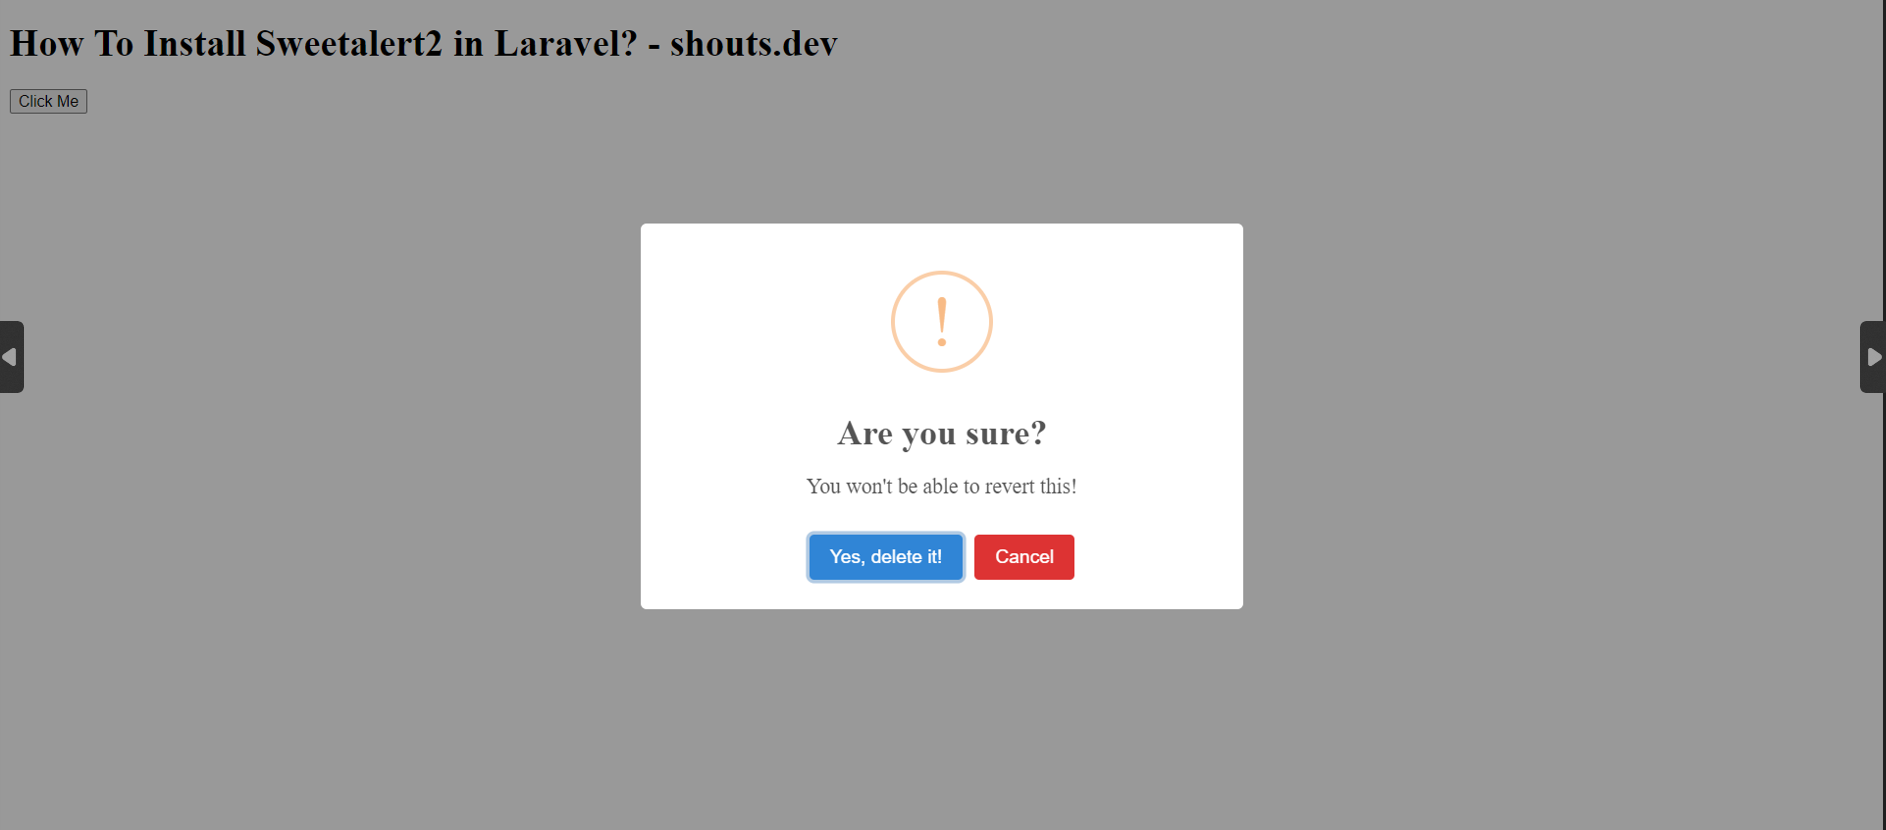
That's it for today. I hope it'll be helpful in upcoming project. You can also download this source code from GitHub. Thanks for reading. 🙂