Install APCu (Alternative PHP Cache) on CentOS / RHEL 8
In this guide, I’m going to show how to install APCu on CentOS 8 or RHEL 8. Let’s follow these steps:
Table of Contents
- Login to Server
- Install APCu
- Dependency Packages for APCu
- Restart Web Server
- APCu Admin Page
- Config APCu
- Store and Fetch Data
Step 1 : Login to Server
We have to login to our server via SSH. Open your terminal and login to the server:
ssh root@IPaddress -p PORTStep 2 : Install APCu
We have to install Remi Repository in our server. If you don’t have then install by using this command:
sudo dnf install https://rpms.remirepo.net/enterprise/remi-release-8.rpmNow run this command to install APCu:
sudo yum install php-pecl-apcuStep 3 : Dependency Packages for APCu
By entering this command, let’s install dependency packages for APCu:
sudo yum install php-pear httpd-devel pcre-devel gcc makeStep 4 : Restart Web Server
Finally restart your web server to enable APCu:
#apache
sudo systemctl restart httpd
#php-fpm
sudo systemctl restart php-fpm
Now check your phpinfo(); script to see APCu is installed or not:
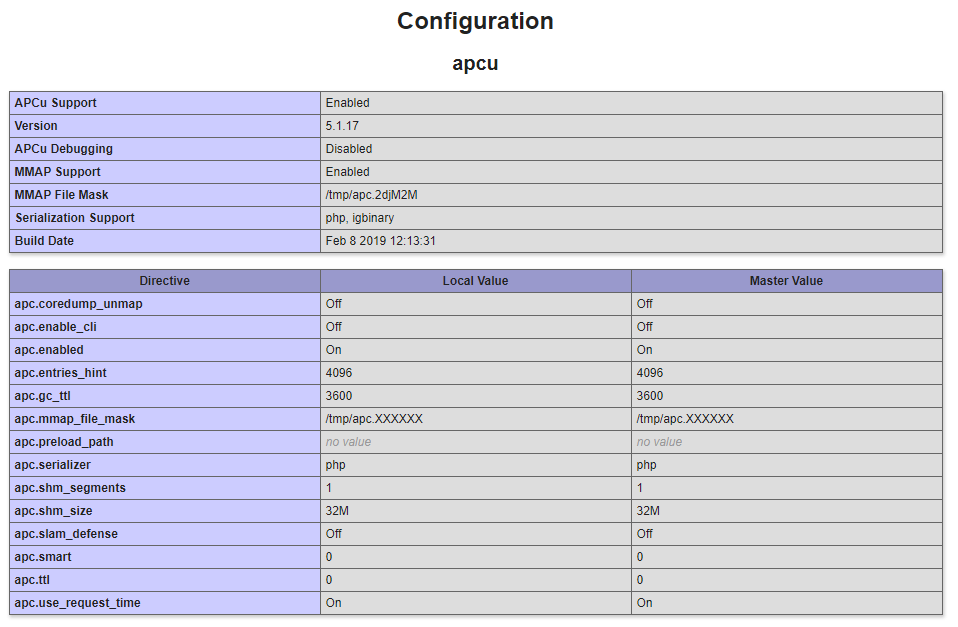
Step 5 : APCu Admin Page
This is an optional step. I’m sharing a PHP file. You need to keep this file to your domain’s public html folder to see APCu admin page. Download this file from GitHub:
Now visit the file from browser (http://web-address/apcu.php):

The default username and password is: admin, admin. You can change this from the apcu.php file:
#0 or 1. 0 for disable user and pass
defaults('USE_AUTHENTICATION',0);

defaults('ADMIN_USERNAME','admin');
defaults('ADMIN_PASSWORD','admin');
Step 6 : Config APCu
We can easily configure APCu. Open /etc/php.ini file and add value like this:
#Enable/Disable
apc.enabled=1
# Memory Segments
apc.shm_size=512M
## PHP file cache 1 hour ##
apc.ttl=3600
## User cache 2 hour ##
apc.user_ttl=7200
## Garbage collection 1 hour ##
apc.gc_ttl=3600
We need to restart the webserver again. This link will help you APCu Runtime Configuration.
Step 7 : Store and Fetch Data
Create a file named cache.php and paste this code:
<?php
$cache_name = "test_c_1";
$expire_time = 10;

if (apcu_exists($cache_name) && !isset($_GET['reload-cache'])) {
	echo 'Load from Cache:<br>';
  $data = apcu_fetch($cache_name);
}
else {
	echo 'Cache Miss!<br>';
	$data = Date("d M, Y - h:i:s");
	apcu_store($cache_name, $data, $expire_time);
}

echo $data;
Now visit the http://web-address/cache.php to see the output.
The article is over. Thank you.
Md Obydullah
Software Engineer | Ethical Hacker & Cybersecurity...
Md Obydullah is a software engineer and full stack developer specialist at Laravel, Django, Vue.js, Node.js, Android, Linux Server, and Ethichal Hacking.