Laravel Capture an Image from Camera and Save to Local Storage
Hello Artisans, today I'll show you how to capture an image from camera and save to local storage in your laravel application. In most of the cases we might want to give an option for user to upload a profile image or capture instantly from your computer. So, let's see how we can easily integrate the capture system from camera in our laravel application.
Note: Tested on Laravel 9.19
First of all, create a controller so that we can write our logics or query to show the result. So, fire the below commands in the terminal.
php artisan make:controller WebcamControllerIt'll create a controller under app\Http\Controllers called SenMailController.php. Open the file and replace with below codes.
<?php

namespace App\Http\Controllers;

use Illuminate\Http\Request;
use Illuminate\Support\Facades\Storage;

class WebcamController extends Controller
{
    public function store(Request $request)
    {
        $request->validate([
            'image' => 'required',
        ],
        [
            'image.required' => 'Please capture an image',
        ]);
        $img = $request->image;
        $folderPath = "uploads/";
        $image_parts = explode(";base64,", $img);
        $image_base64 = base64_decode($image_parts[1]);
        $fileName = uniqid() . '.png';

        $file = $folderPath . $fileName;
        Storage::put($file, $image_base64);

        dd('Image uploaded successfully: '.$fileName);
    }
}
Now we'll create routes so that we can access in our view file. So, put the below route in web.php file.
<?php

use App\Http\Controllers\WebcamController;
use Illuminate\Support\Facades\Route;

Route::get('/', function () {
    return view('welcome');
});

Route::post('webcam-capture',[WebcamController::class,'store'])->name('webcam.capture');
Now we'll update our default blade file called welcome.blade.php which is come by default. Now open the file and replace with below codes.
<!DOCTYPE html>
<html>
<head>
    <title>laravel webcam capture image and save from camera - ItSolutionStuff.com</title>
    <script src="https://cdnjs.cloudflare.com/ajax/libs/jquery/3.3.1/jquery.min.js"></script>
    <script src="https://cdnjs.cloudflare.com/ajax/libs/webcamjs/1.0.25/webcam.min.js"></script>
    <link rel="stylesheet" href="https://cdnjs.cloudflare.com/ajax/libs/twitter-bootstrap/4.1.3/css/bootstrap.min.css" />
    <style type="text/css">
        #results { padding:20px; border:1px solid; background:#ccc; }
    </style>
</head>
<body>

<div class="container">
    <h1 class="text-center">Laravel webcam capture image and save from camera - ItSolutionStuff.com</h1>

    <form method="POST" action="{{ route('webcam.capture') }}">
        @csrf
        <div class="row">
            <div class="col-md-6">
                <div id="my_camera"></div>
                <br/>
                <input type=button value="Take Snapshot" onClick="take_snapshot()">
                <input type="hidden" name="image" class="image-tag">
            </div>
            <div class="col-md-6">
                <div id="results">Your captured image will appear here...</div>
            </div>
            <div class="col-md-12 text-center">
                <span class="text-danger">{{ $errors->first('image') }}</span>
                <br/>
                <button class="btn btn-success">Submit</button>
            </div>
        </div>
    </form>
</div>

<script>
    Webcam.set({
        width: 490,
        height: 350,
        image_format: 'jpeg',
        jpeg_quality: 90
    });

    Webcam.attach( '#my_camera' );

    function take_snapshot() {
        Webcam.snap( function(data_uri) {
            $(".image-tag").val(data_uri);
            document.getElementById('results').innerHTML = '<img src="' data_uri '"/>';
        } );
    }
</script>

</body>
</html>
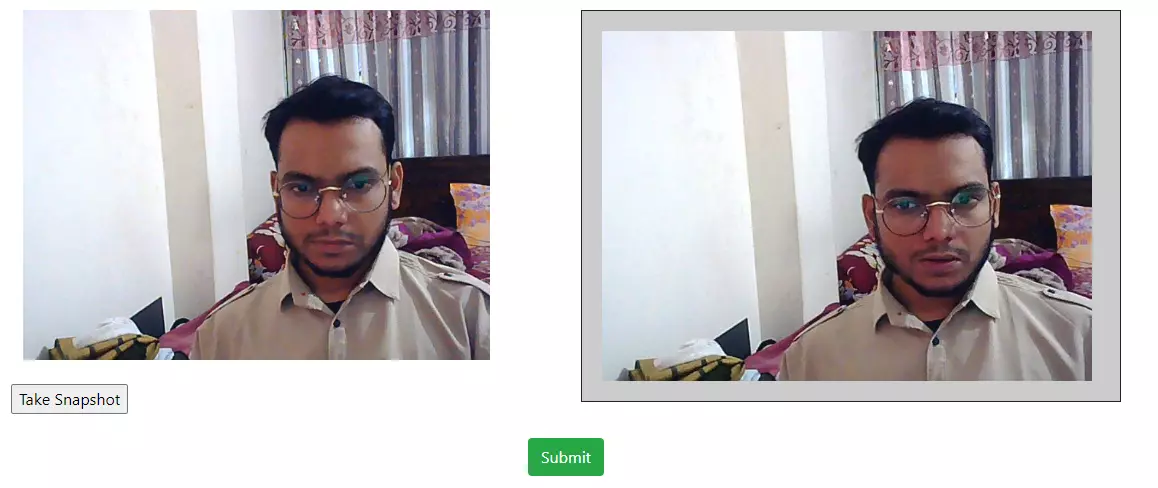
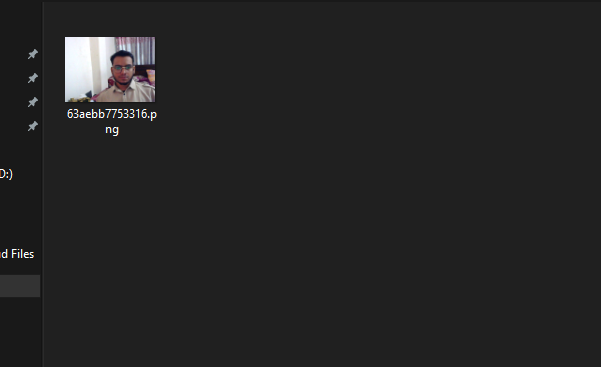
And finally we're ready with our setup. It's time to check our output. Now go to http://127.0.0.1:8000, If everything goes well, press the upload button to take a picture and after that click on the submit button. After that you can see that the captured image will be saved in the local storage. Like the below one.
That's it for today. I hope you've enjoyed this tutorial. You can also download this tutorial from GitHub. Thanks for reading. 🙂