Install and Configure phpMyAdmin with Apache on CentOS 7
Today, I’ll show you how to Install and Configure phpMyAdmin with Nginx on CentOS 7. Let’s follow these steps:
Step 1 : Login to Server
At first, we need to login to our server via SSH. Open your terminal and run this command:
ssh root@IPaddress -p PORTStep 2 : Install phpMyAdmin
First, we need to install EPEL repository. By typing this command, install EPEL repository if not installed:
sudo yum install epel-releaseAfter installing EPEL repository, now we can install phpMyAdmin by typing this command:
sudo yum install phpmyadminNow, restart Apache:
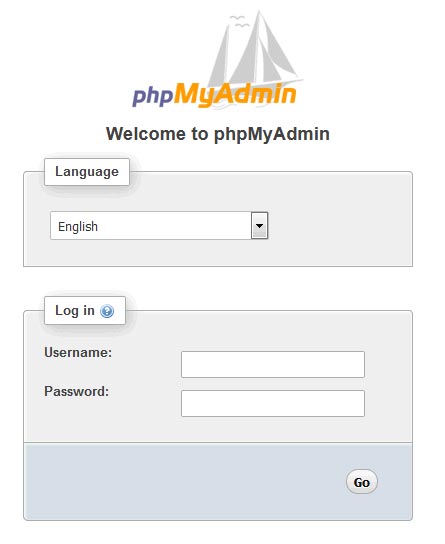
systemctl restart httpdTo access the phpMyAdmin interface type this on a browser:
http://server_ip/phpMyAdmin

Step 3 : Configure phpMyAdmin
Accessibility: Normally, phpMyAdmin is only accessible from the localhost. If you want to access phpMyAdmin anywhere, open phpMyAdmin.conf:
sudo nano /etc/httpd/conf.d/phpMyAdmin.conf<Directory /usr/share/phpMyAdmin/>
AddDefaultCharset UTF-8
Options Indexes FollowSymLinks MultiViews
AllowOverride all
Require all granted
</Directory>Again restart the Apache:
sudo systemctl restart httpdThat’s it. Thank you.
Md Obydullah
Software Engineer | Ethical Hacker & Cybersecurity...
Md Obydullah is a software engineer and full stack developer specialist at Laravel, Django, Vue.js, Node.js, Android, Linux Server, and Ethichal Hacking.